You can store attachments in most common, uncompressed file formats under “Attachments” in your article card (more information on permitted formats and file sizes can be found here).
To store a document or media file in your article card, open the article and go to the “Attachments” section:

Now click on “Choose file” or drag a file into the card with your mouse to select one from your local computer or server. Alternatively, you can insert a file that is already stored in the media library or create an image file using the Canva integration.
If you do not want to upload files but instead link to them locally or from the web, you can do so via the “Links” section.
Text notes can also be left and commented on by others, and the individual files can be discussed directly in the attachments tab using the “speech bubble" icons.
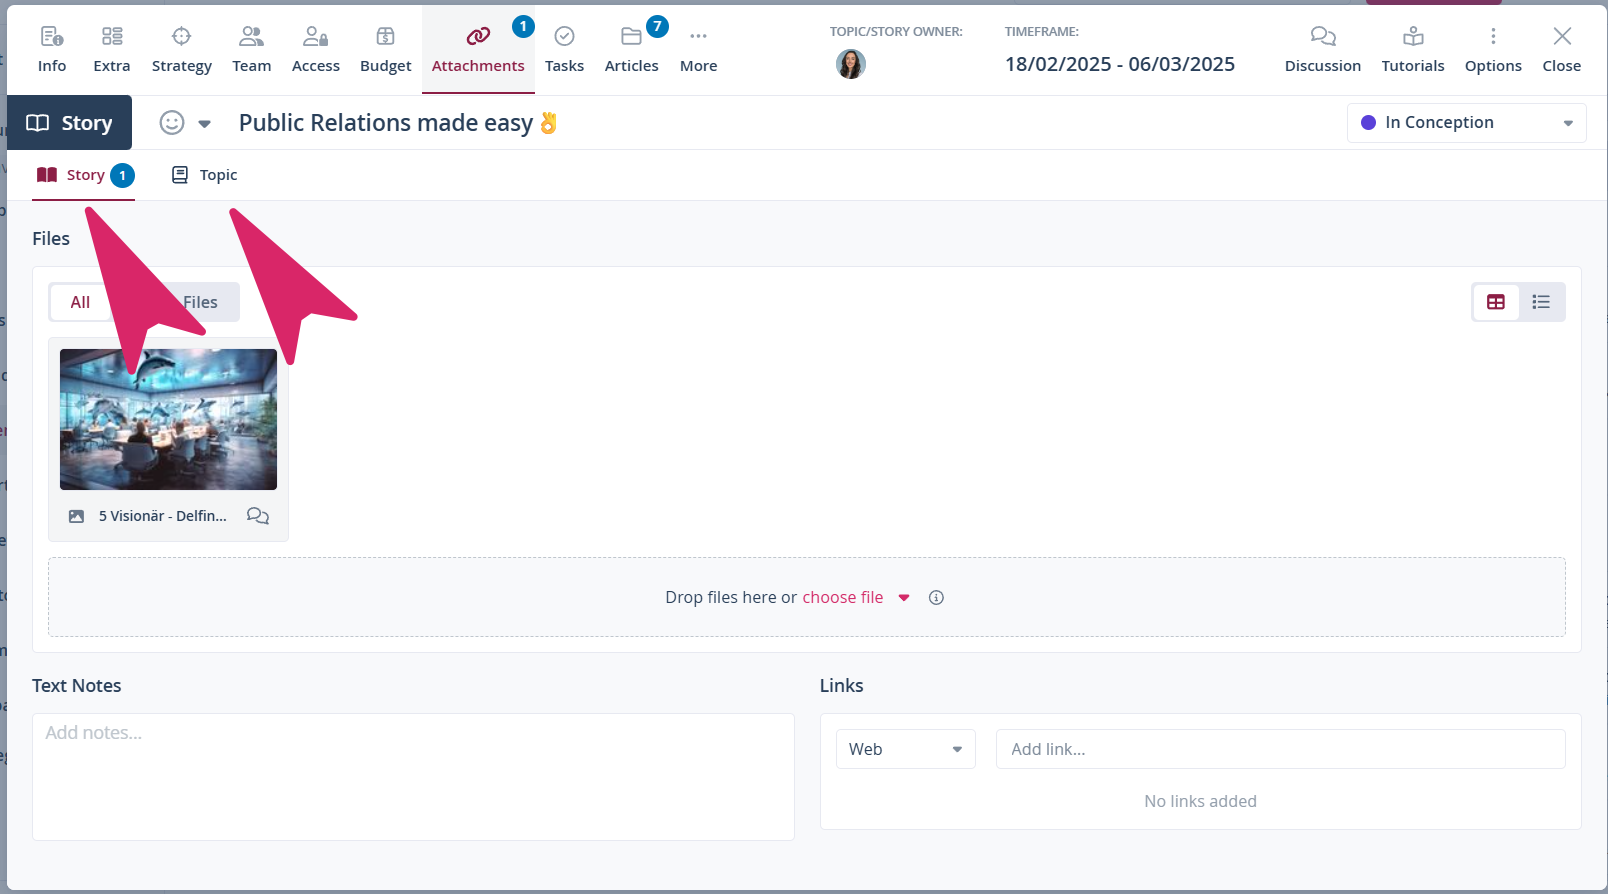
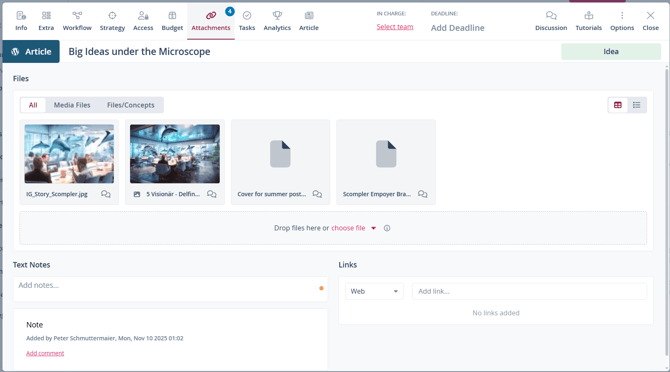
Your attachments are displayed in the overview as follows:
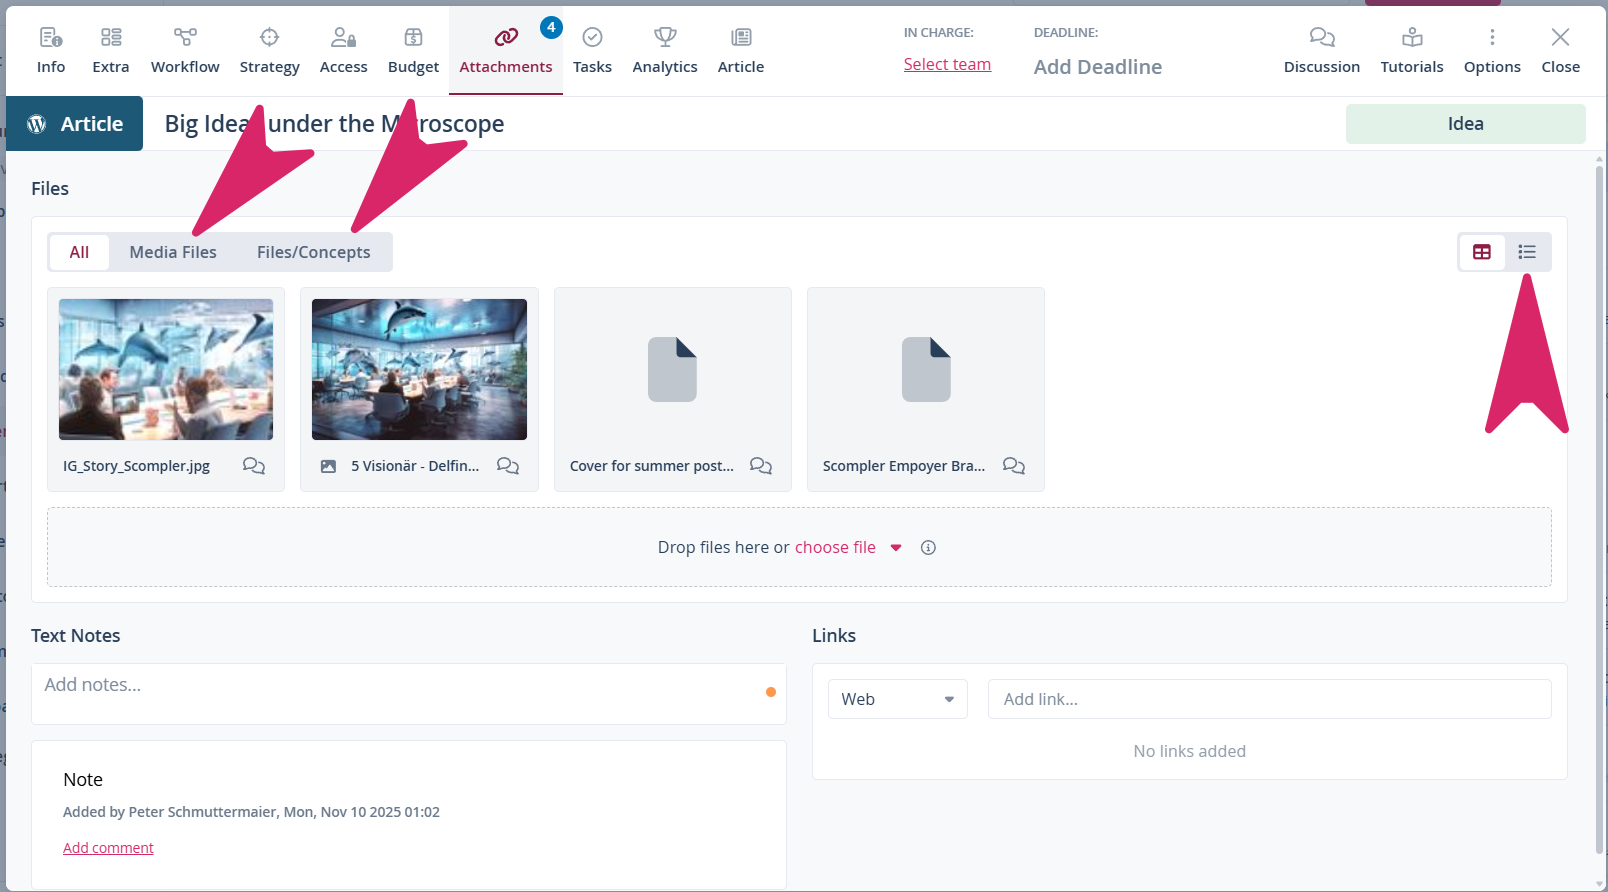
If you have stored a large number of files, you can use the “Media files” or “Files/Concepts” selection to display only image and video files or other file formats, or switch from tile view to list view to find your content even faster:
For users of the PRO version, the “Material” tab is available not only for posts, but also in the topic and story cards. The upload functions are identical there: