

Content is created for a variety of purposes - and content can be viewed from different perspectives. We want to display these perspectives in Scompler so that you can always get an overview from your preferred perspective.
If you take a topic-centred perspective, the “Topics” section will help you. If you need the "Time" perspective, you will find your content in the calendar. The “Content” section shows you all your articles and allows a variety of reviews.
Scompler offers you different perspectives on your content, which we will introduce here.
- Create content in the topic section
- Create content from your calendar
- Create content in the Content area
- The fastest way to create a Story
Creating content in the Topic section
The “Topics” section follows a structure that allows you to view your content from a topic-centric perspective. You can locate your content within your topic architecture by assigning it to a "story".
Within each story, you can create articles. To do this, select the story within a topic and click on "+Article". A new field appears where you can define the content type, the title and the deadline. Then click on "Save".

The article will now appear within the selected story. You can open it and enter further parameters, such as responsibilities (workflow), planning articles, strategy, and many more.
Create content in the calendar
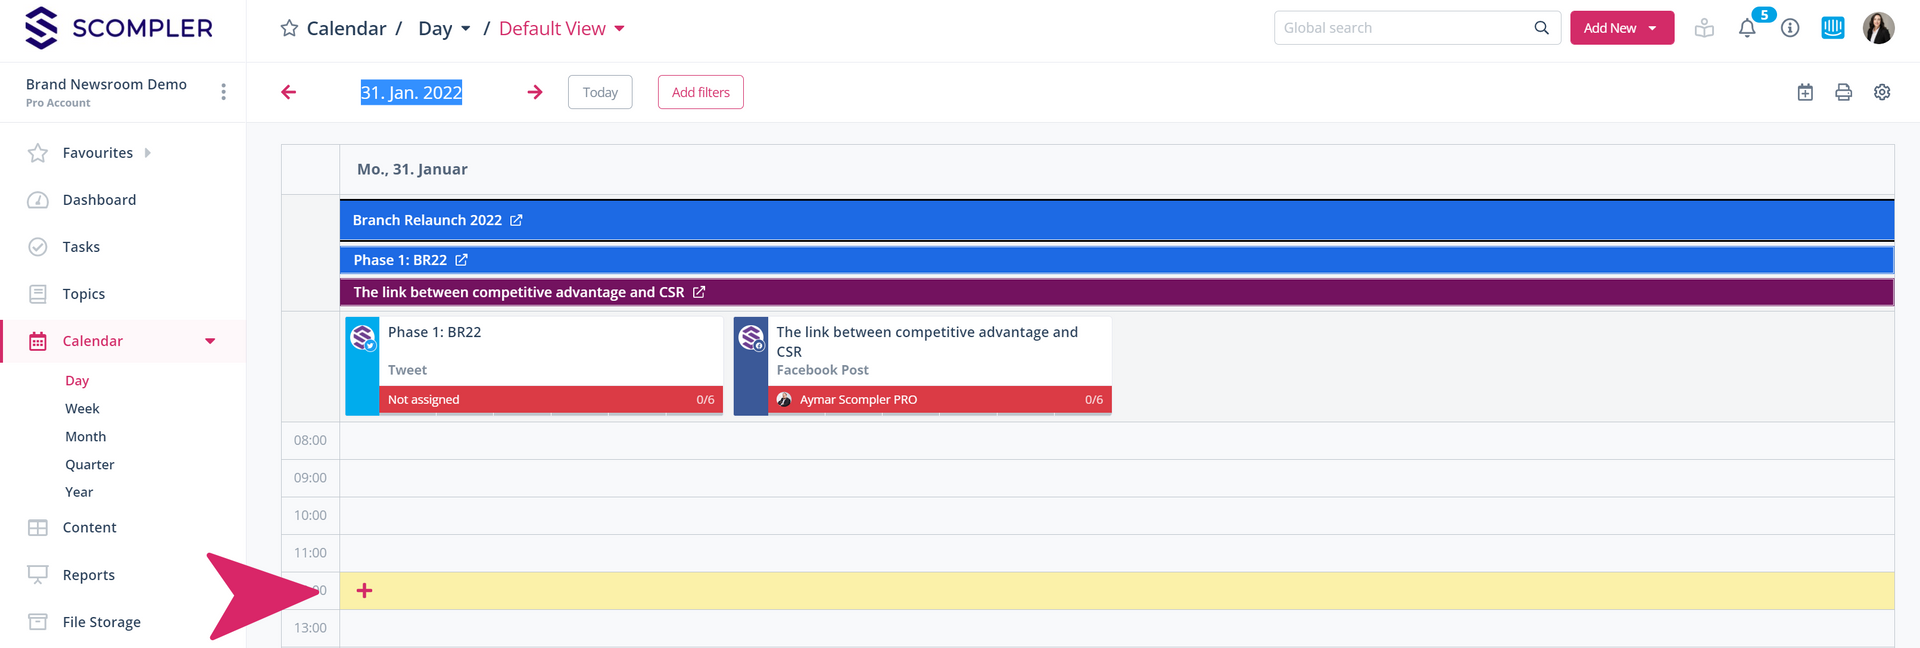
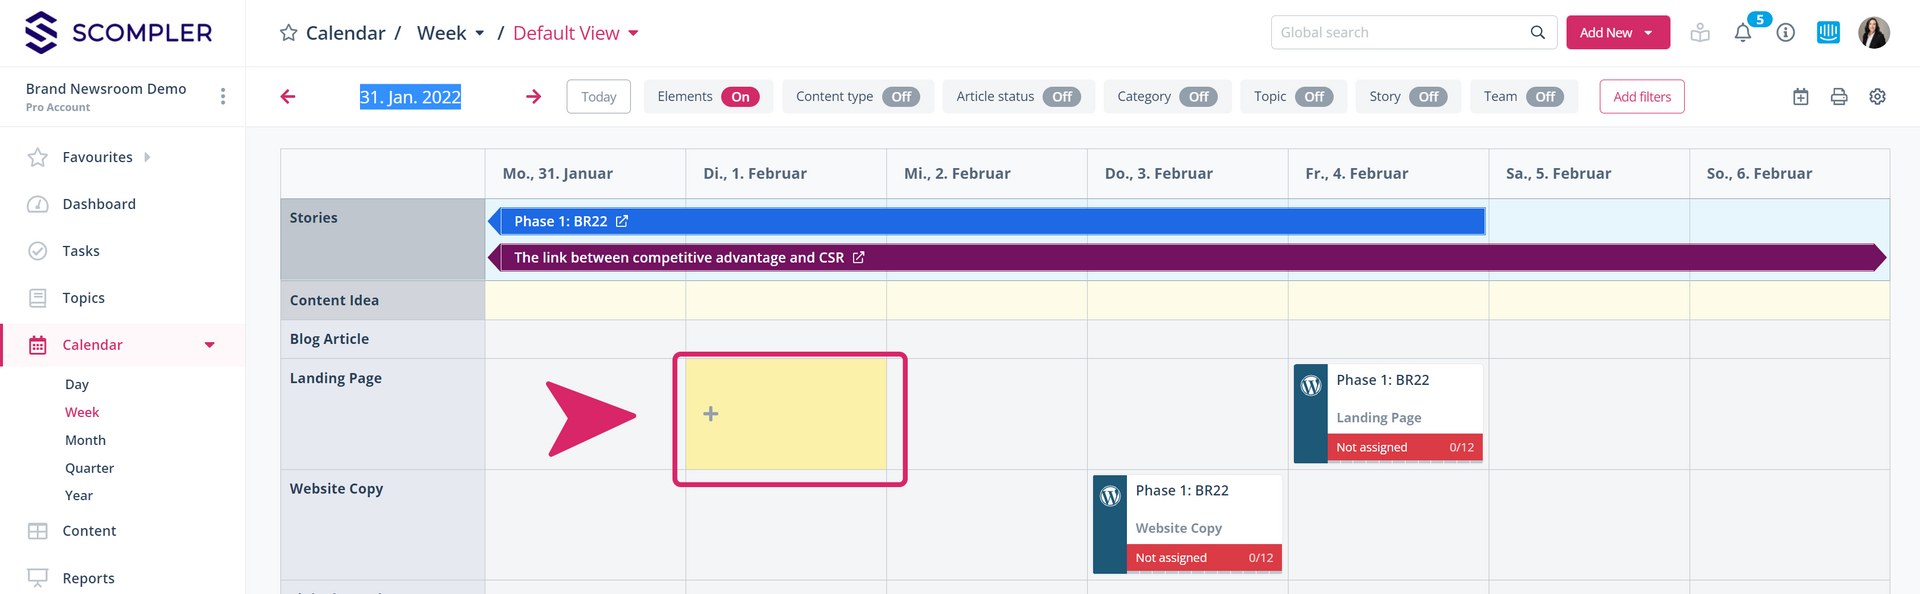
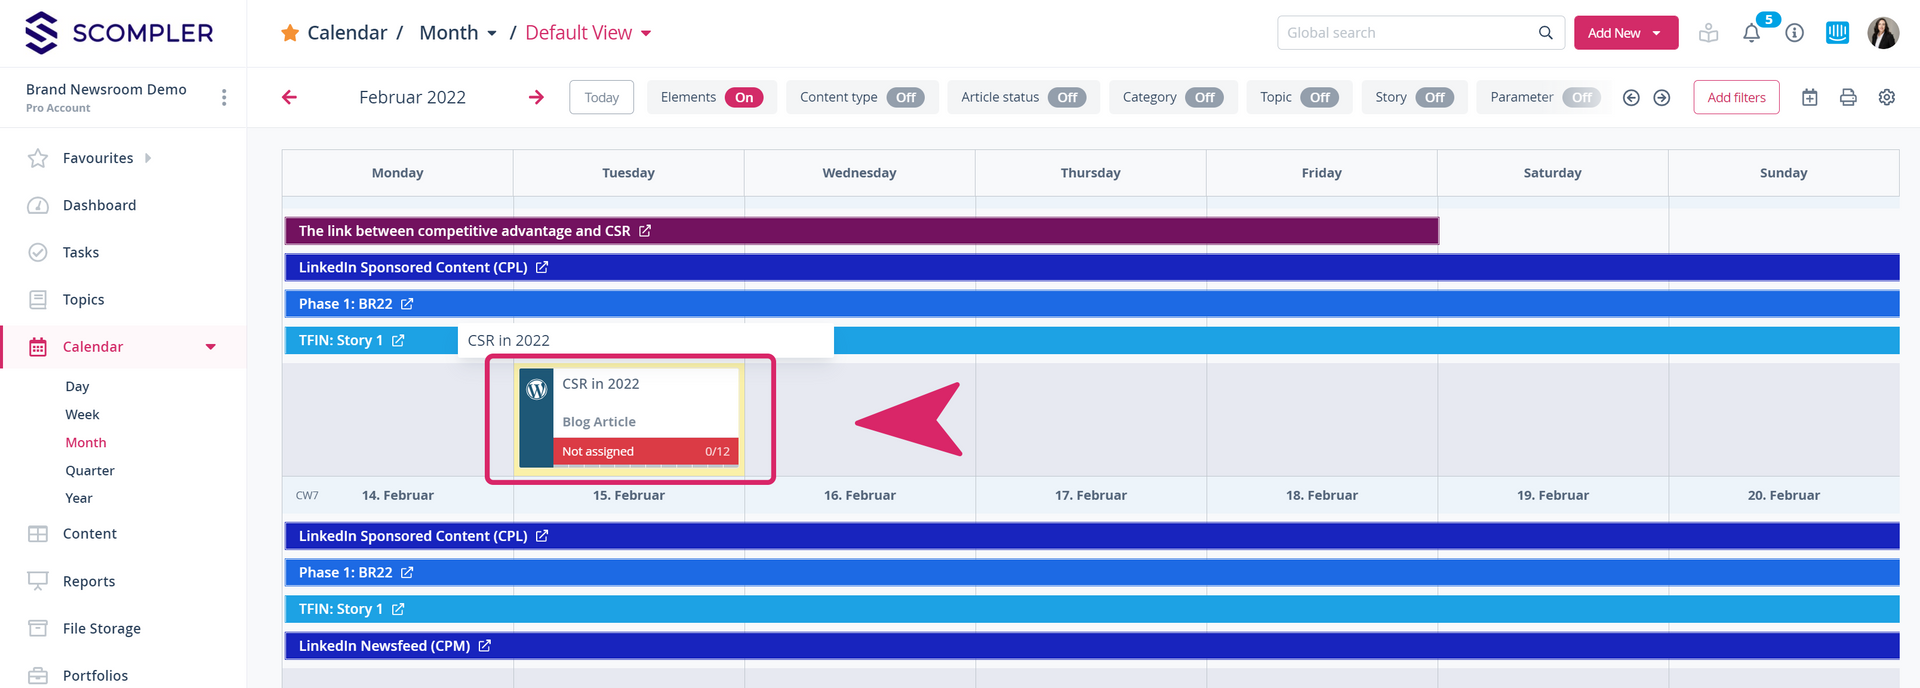
Content can be created/planned from a time perspective via the calendar. To create a new article, move the mouse pointer over a specific day in the respective calendar view and click on the + sign on the date where the deadline, i.e. usually the publication date, of your article is to be set.
Then select a content type from the pop-up that opens. The corresponding article card opens, in which you give the content a title. Here you can also make further adjustments by using the tabs.

Day view
Week view
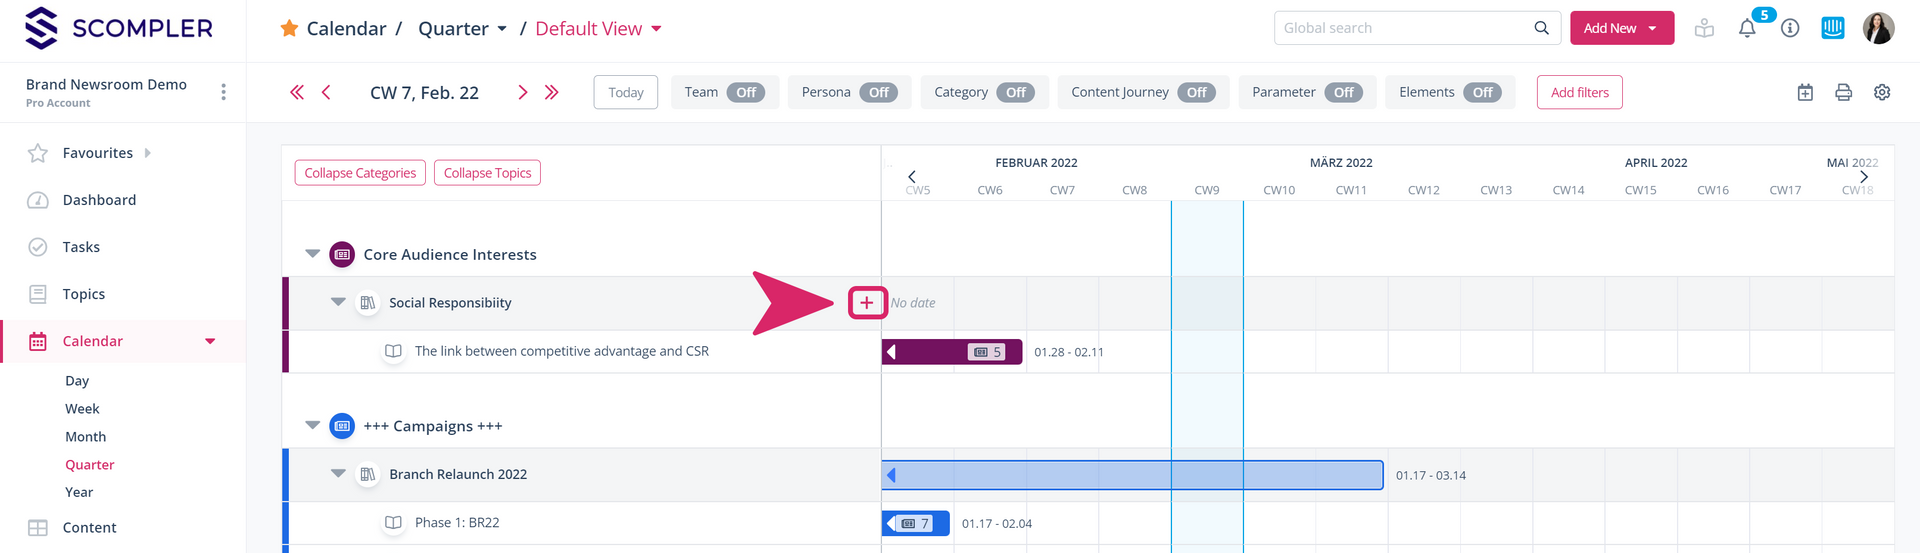
Quarterly view
Heads-up: When you close the article (at the top right of the article card), it appears on both the calendar and the content page. However, if you have not assigned this content to a topic and story, you will not find the article in the topic section.
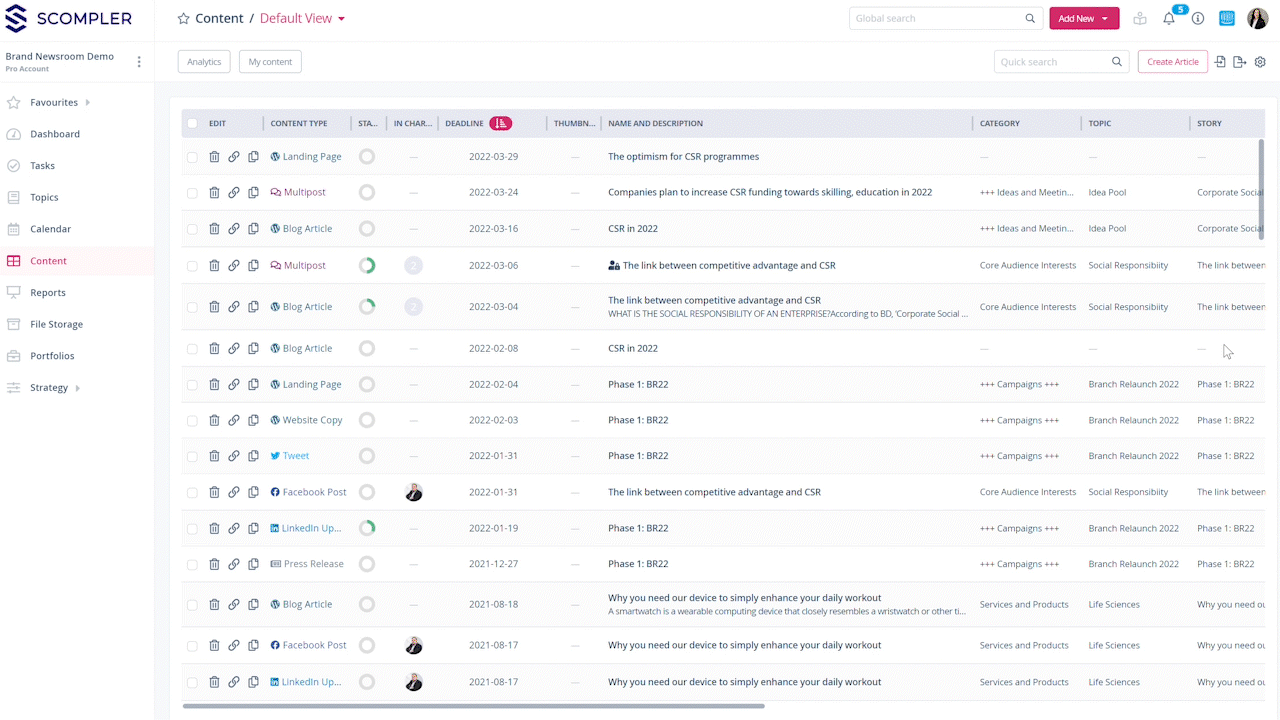
Create articles in the content area
In the content area, you will see all the articles that have been created for your project. You can filter, combine according to various criteria and analyse the content based on its attributes. Click on "Create Article" in the top right-hand corner. Select the content type, enter a title and assign a deadline. Then click on "Save" or press Enter on your keyboard.
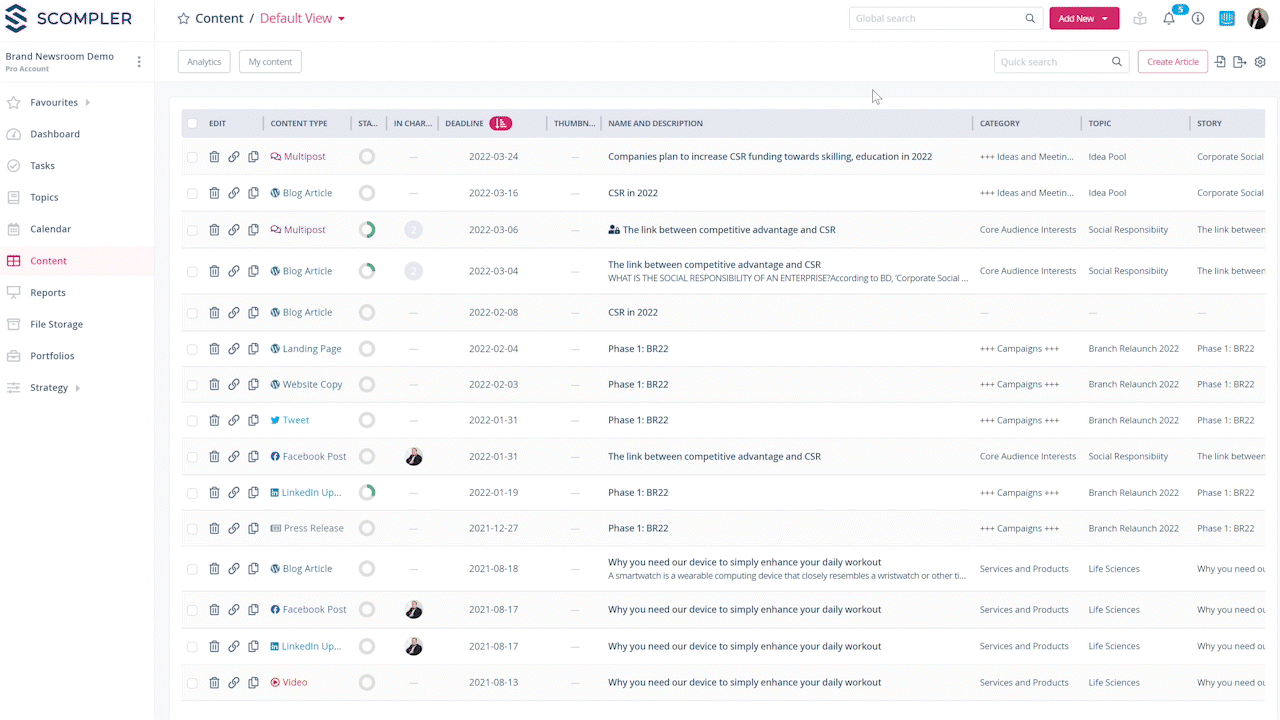
The article will then appear in the calendar on the corresponding deadline date. For it to be displayed in the topic area, you must first assign a story to it.
The quickest way to create an article
The quickest way to create articles is to use the "Add New" button in the navigation bar. Select "Article" from the drop-down menu and a pop-up window will open in which you can select the desired content type. An article card will be created in which you can enter a title and add further parameters/settings in the tabs.
The article is displayed directly in the “Content” area. To make it available in the “Topic” section and calendar as well, assign the article to a topic and story and enter the deadline.