
Access rights in Scompler are connected to individual users. Therefore, each user working in Scompler needs their own user account with a unique login and password. Only project administrators can create new users. If you have administrator rights, go to "Project Settings" and click on "New user". Then enter the email address and name under which the new user should log in and select the user group* as well as the relevant role(s)** to be assigned to the new user.
Note:
* A user group determines what permissions certain users have in the Scompler project.
** A role relates to workflow and responsibilities for specific content and affects notifications on the dashboard (article tasks).
Decide whether the user can approve articles byticking the "Can approve articles" box.

After you have created the user account, you should check the user resource and adjust it if necessary. Resources are used in Scompler to control roles in the work process, create teams and control views or access restrictions for individual content. Click on "Strategy" in the left-hand menu and select the “Team” option. Here, you see the profiles for the users created in the project setting. In the "Login" column, select the user name/login of the desired user. Here, you also manage the roles performed by a team member when creating your content. Each team member can have several roles.

You can edit a user's sotored information by moving the mouse pointer over the user you want to edit and clicking on the pencil icon. In the pop-up window, you will see the profile information (name, email, login, etc.).
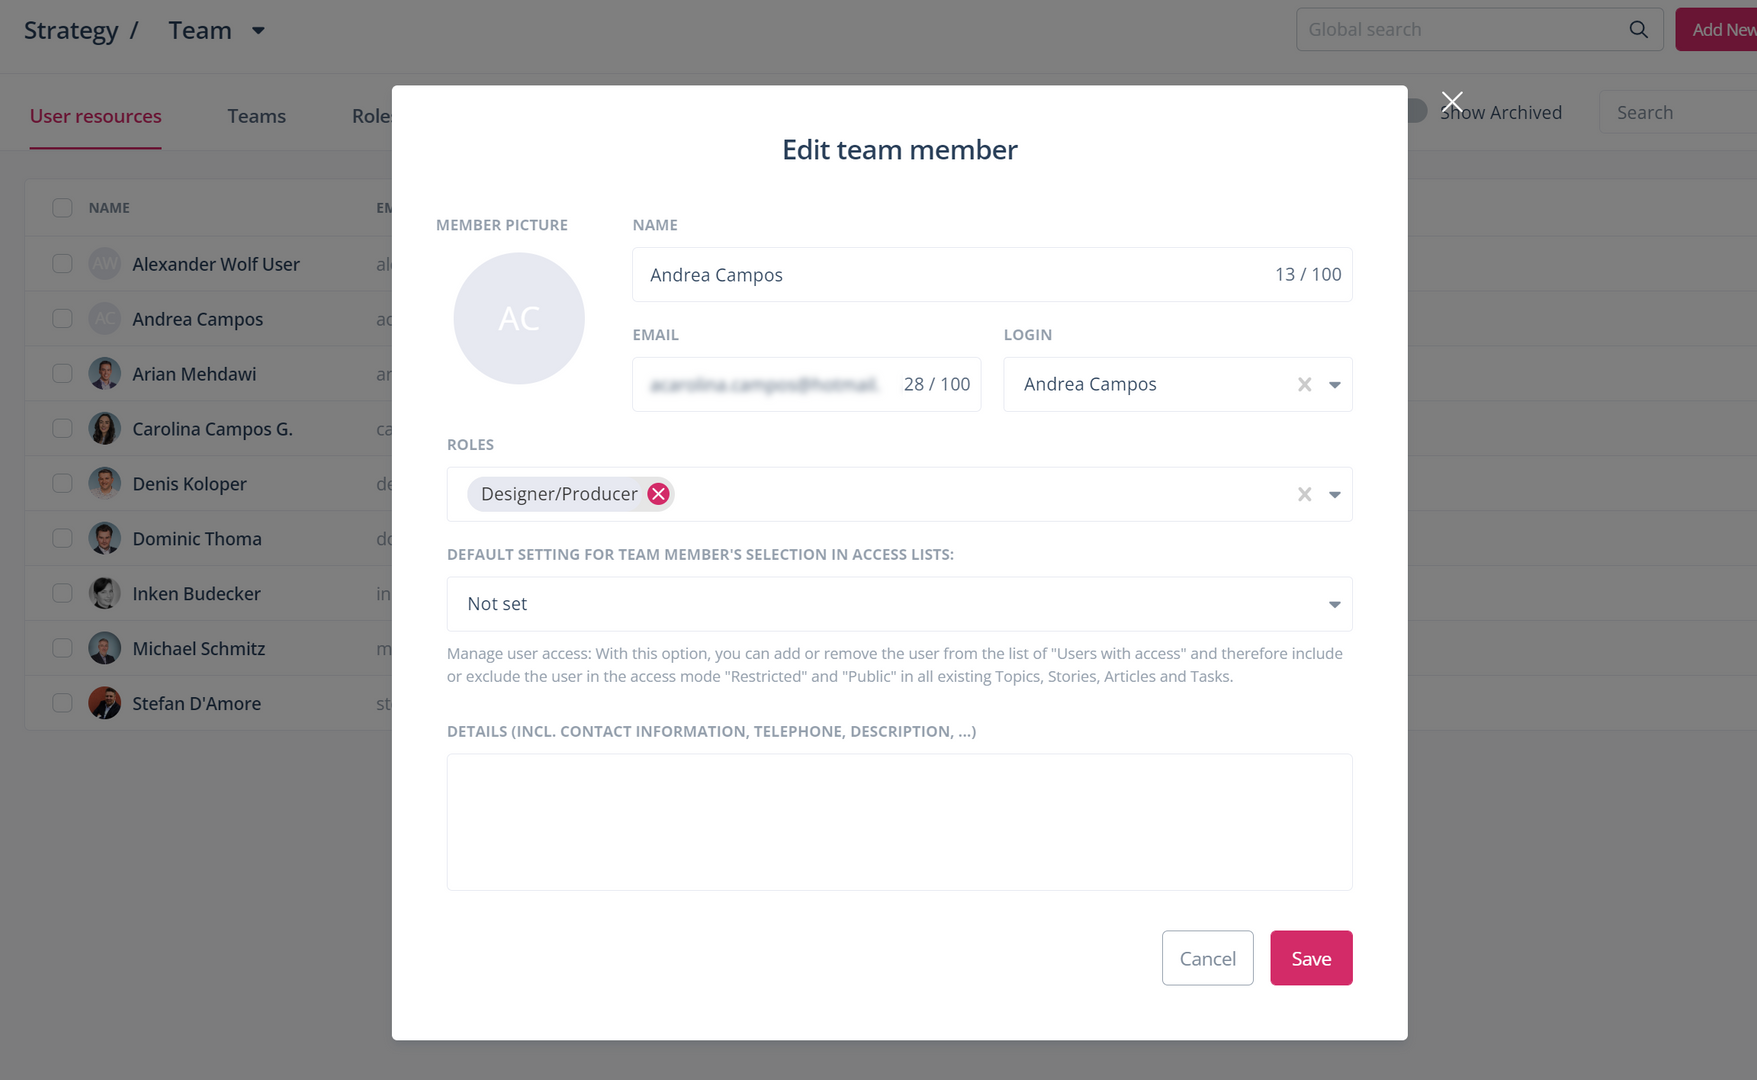
Delete or add roles as needed, select an image and enter more information in the text box below. Then save your changes.