Filter topics for a better overview
When you do your themebased planning, you may get to a point in your project where you have to scroll for a long time to get the information you want.
This is where filters provide a good way of displaying your content in a targeted manner, giving you a faster overview.
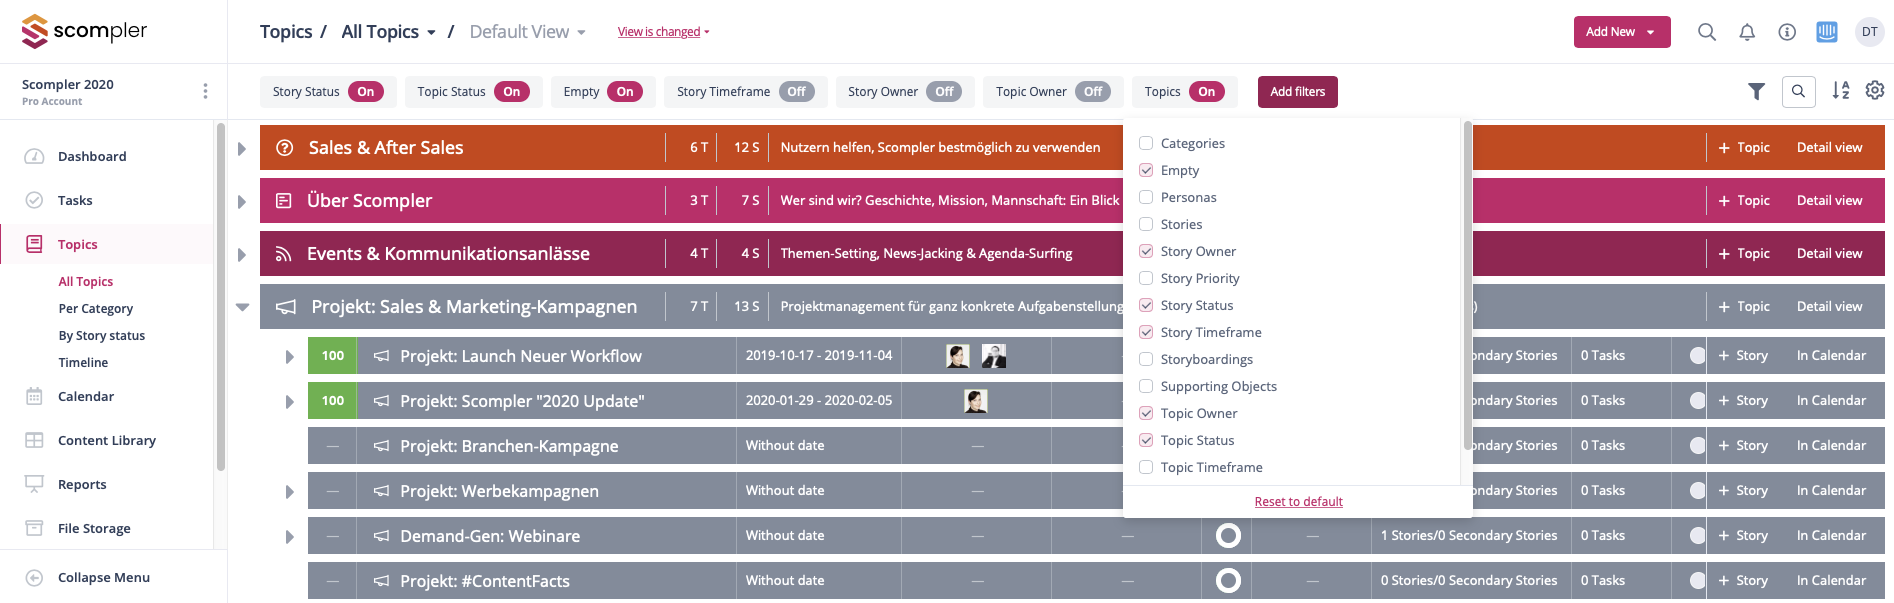
Several filters are displayed above your topic architecture. Archived stories and topics are initially hidden, so these filters are displayed as active (pink):

To filter according to specific criteria, click on the name of the desired filter and select the options you want to be displayed. If you want to hide something, clear the corresponding checkbox. When all boxes are selected, the filter is inactive. As soon as one or more options are hidden, the filter switches to the active state (on). Click on the filter name again to close the selection dropdown:

Tip: If you display empty stories and topics, they remain visible even if you activate other filters. To have a better overview, it is best to hide the empty items as long as you do not need the information specifically!
In addition to the preset filters, you can add further criteria. To do so, select the desired filter from the selection list using the "Add filter" button. To hide the additional filters again, deactivate the corresponding checkbox again:
If the number of possible options in a filter is very large, you can also narrow it down with the search function in the drop-down menu:

You can combine as many filters as you like to get exactly the information you need.
Using drag and drop, you can arrange the order of the filters as you need them.
By clicking on the filter icon on the righthand side, you can hide and show the filters at any time to save space:

Save Views
If you have put together a view that you would like to use again at a later date, you can save it by clicking on the save icon to the right of the breadcrumb navigation:

Now choose first on the left whether you want to use the view only for yourself or make it availabe to your entire team (from license version ONE+).
Then give the view a name that is as meaningful as possible and save it:

To call up a saved view, select it from the drop-down menu above the filters:

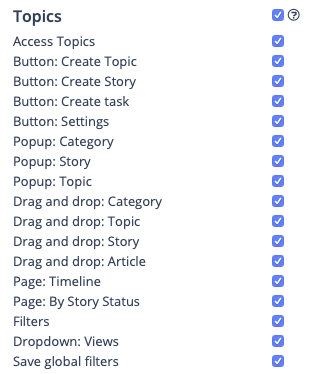
Tip for project administrators:
To enable your team members to use the filter function, it must be activated for the respective user group in the project settings: