How to use Frontify in Scompler
With the Frontify integration, you can easily access your assets via Scompler
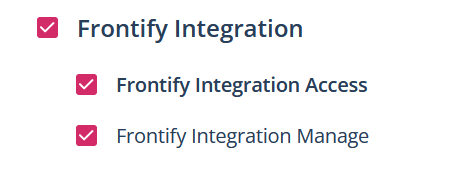
NOTE FOR ADMINS: Firstly, you need to make sure that the Frontify integration is activated for your user group:
Integrate Frontify into Scompler
If you have access to the connection page in your project settings, scroll down until you find the Frontify field under “Other integrations”:
Click on “Add” on the right and the Frontify screen will open:
To set up, you need the domain and the Oauth2 client ID of your Frontify account. You can find the domain using the following instructions.
NOTE: If you have an Enterprise account, follow these instructions to find the ID. Users of other account models need to contact Frontify in Slack to get your Oauth2 client ID.
Enter both credentials and a pop-up will appear asking you to approve the authorisation.
Now your Frontify account is linked to Scompler.
Upload Frontify assets from within Scompler
You can now upload assets directly from your Frontify library. To do this, click on the “Upload files” button in the “Attachments” tab or via the folder icon in the editor and select Frontify.
You can also access your Frontify files in the File Storage area by clicking on the “Upload files” button at the top right and selecting Frontify.