
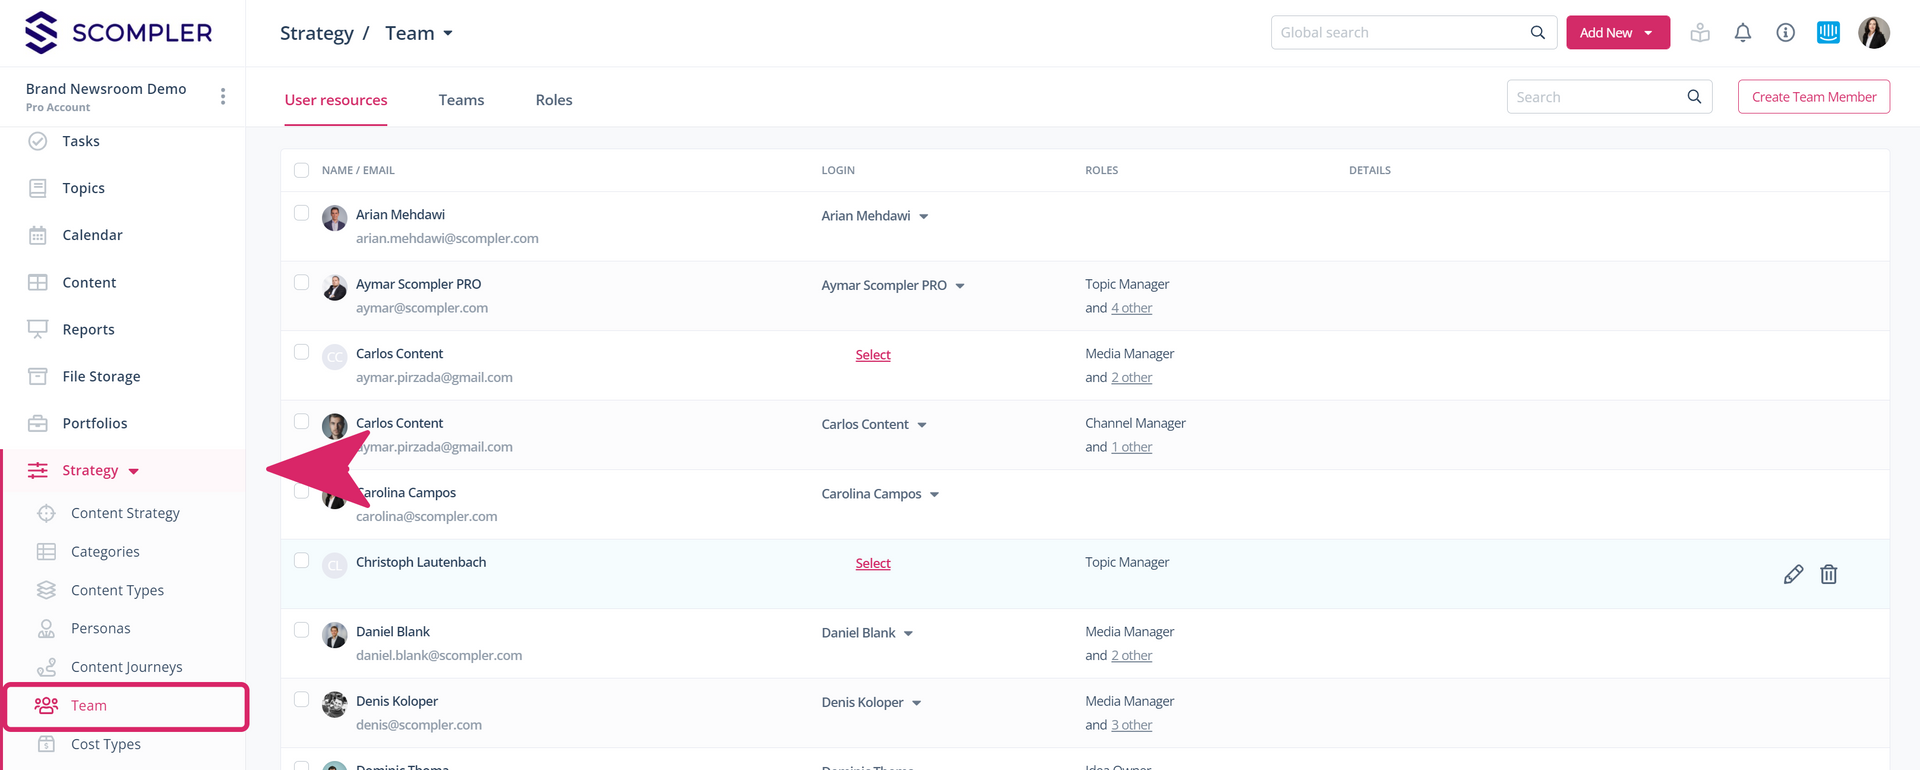
From Scompler ONE+, you can manage your team and define or customise different roles for your work process.
To do this, open the “Team” section below the strategy menu:
Define the roles
Switch to the “Roles” tab and check if the suggested roles match your requirements. You can delete each role using the trash can symbol at the end of the row, or rename it using the pencil symbol, and enter additional explanations.
Select the role that should correspond to the theme/story owner. This allows the user to quickly access their topics and stories later thanks to predefined filters. You can also add further roles for your team via the button "Create role":

Create and manage the teams
You can create teams and add members to each team. In the "Teams" tab you will find the teams you have created. Select the members you want to add to the selected team by clicking on "Add team member" or simply by clicking on the pictures of users who have already been added. To edit existing teams, click on the team you want to edit to open the card. There, you can change the name, enter a description and add a picture:
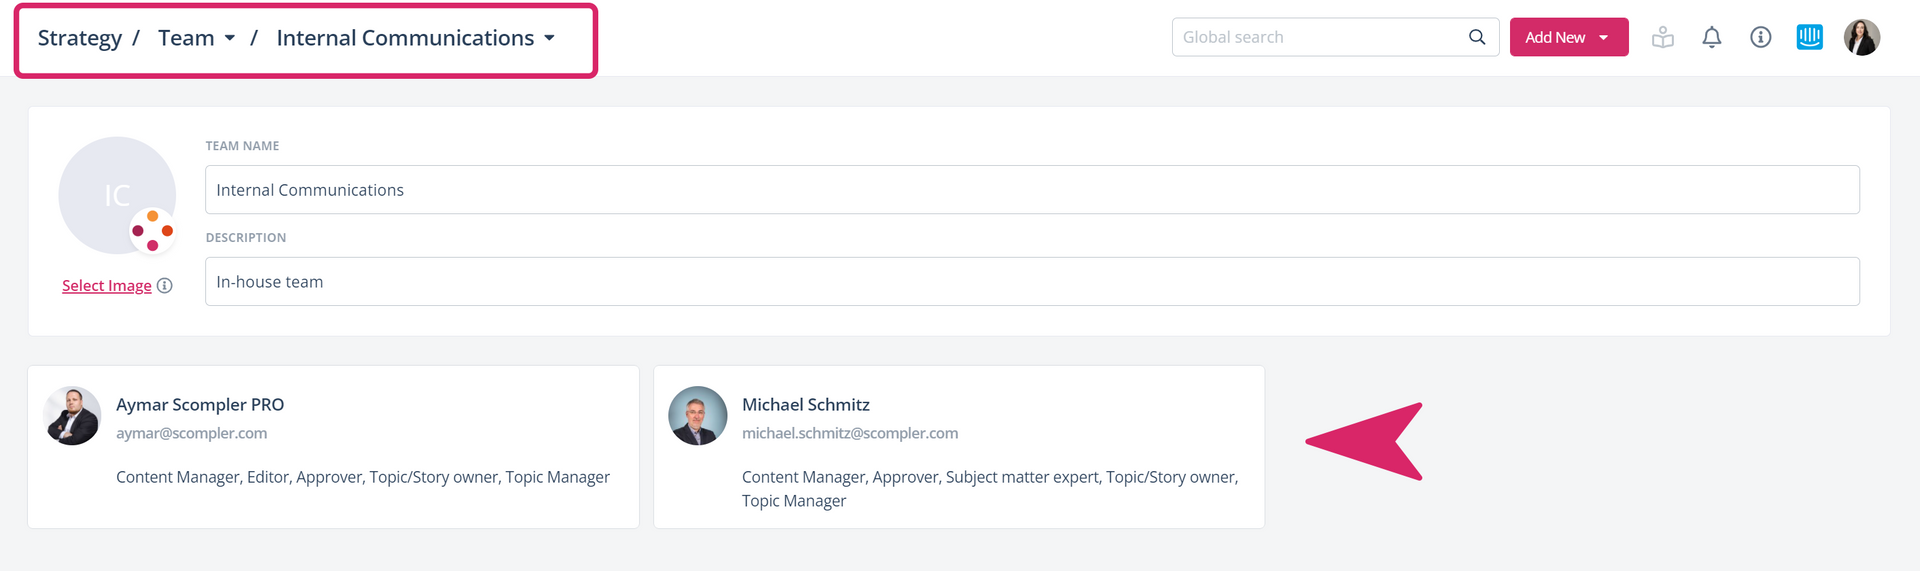
To create a new team, click on the "New team" card. Add a name and description and add the members you want. When you are finished, click on "Create":

Manage the user resources
In the next step, you can manage all users on the "User Resources" tab. Here, you can delete team members, create additional team members, and edit existing ones. You can also set individual preferences for notifications here.
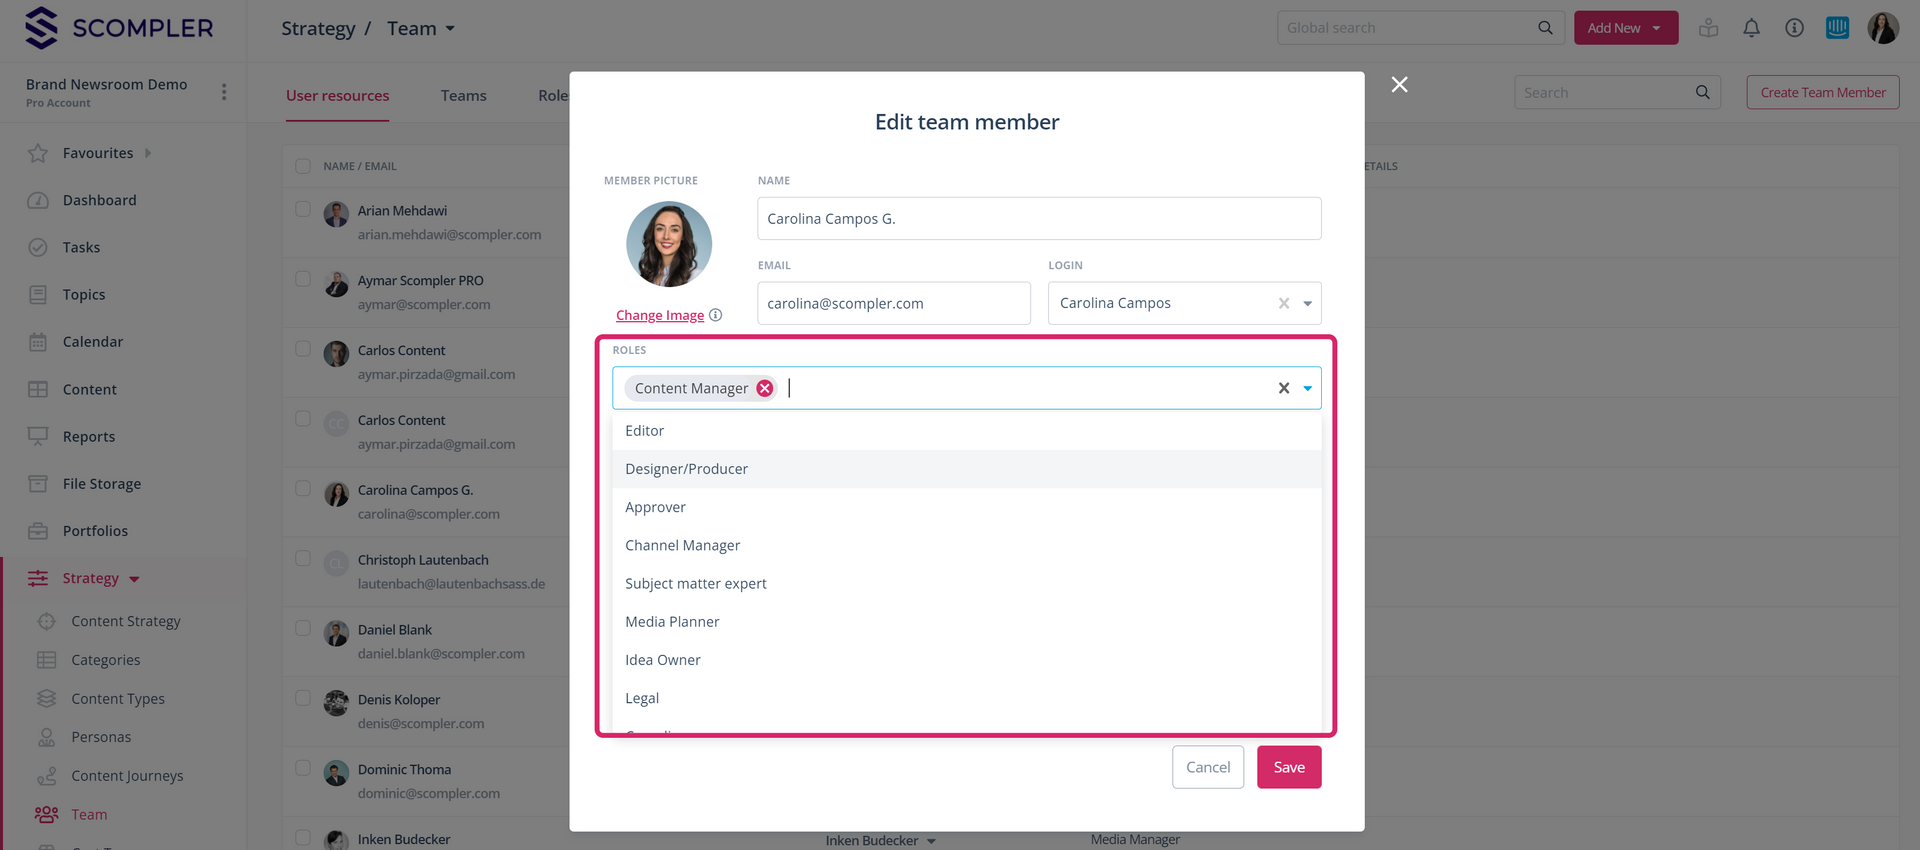
To do this, open the edit mode for a team member with the pencil icon on the right of the active row. You can now enter the team member's personal information, add an individual picture if this has not yet been done via the user profile, and assign a user login to the team member:

Note: If no user login is linked here, a team member cannot create or edit tasks and also has only limited functions.
Assign roles to team members
Now, you can assign the user the roles that they should fulfil in their daily work. This can be any number of roles - from just one to all roles.
Note: You have the option to create "virtual" team members in addition to your actual users. However, when assigning roles and tasks, keep in mind that they do not have direct access to Scompler. They can be created as know-how holders, for example, whose contact information is then also available in the topic, story and article cards.
Assigning the roles to the steps in the workflow
Before starting content production, check the assignment of roles in each step of the workflow and adjust the responsibility of all tasks to your needs for optimal performance:

Working with teams in the content production
You can now assign the roles to team members at a higher level in the"Team" tab of the topic and story cards. You can then transfer this assignment to the levels below. In the dropdown, all team members to whom the corresponding role is assigned are displayed. If you are missing a member of the team who has this role, correct the assignment in the strategy. Responsibilities that have already been assigned at the topic or story level are transferred to new articles. Roles without an assignment remain empty:

Note: Creating additional team members can easily lead to duplicates at this point if the member has already been created and only lacks the appropriate role assignment. You should only use the "Create Team Member" function here if you are sure that it is indeed a new team member.
You can add to or adjust the assignment in the article card at any time. With the option "Assign all tasks", you can assign all tasks not yet assigned to another team member or to yourself at the same time. The respective tasks, with the stored due dates (if applicable), are now visible to each relevant team member in their task area:
