Once you have added your channels within Community Management, you can:
-
grant users access to Community Management via the user group permissions
- display teams for assignments in Community Management
Grant Permissions to User Groups
To access Community Management, users must have the appropriate permission in their user group.
- Navigate to Project Settings > Users > Groups.
- Optionally, click New Group to create a group distinct to Community Management users.
- Scroll to Community Management.
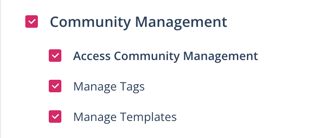
- Activate the options Access Community Management and optionally Manage Tags and Manage Templates.
- Click Save.
You have granted the user group access to Community Management. The feature will now appear in the left navigation bar for users in this group.
Grant Channel-Specific Permissions
For each channel, you can specify which user groups have access to it in Community Management.
If no user groups are selected for a channel, all users who have access to Community Management based on their assigned role can access the channel in the corresponding feature.
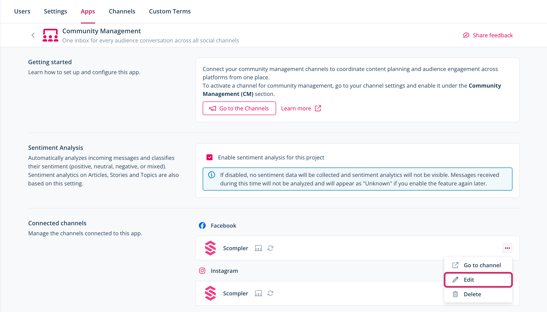
- Navigate to Project Settings > Apps > Community Management > Connected Channels.
- Next to the channel for which you want to manage user groups with access to Community Management, click the three dot menu > Edit.
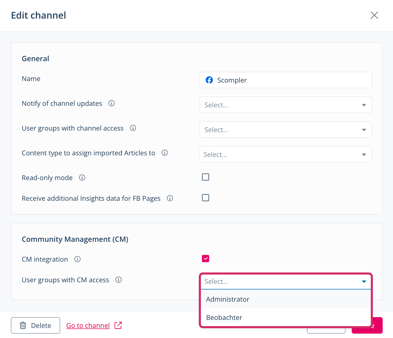
The Edit channel dialog opens. - In the User groups with CM access dropdown menu, select the user group(s) that should see the channel.
- Click Save.
Display Teams for Assignments in Community Management
You can have specific teams displayed in Community Management so that you can assign incoming tickets to them.
- Navigate to Strategy > Team > Teams.
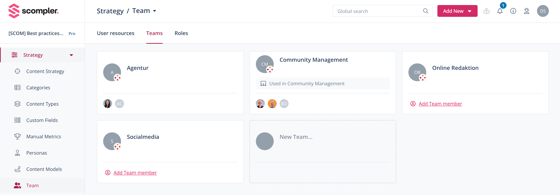
- Select the team that you want to display in Community Management.
- Activate the option Display in Community Management.
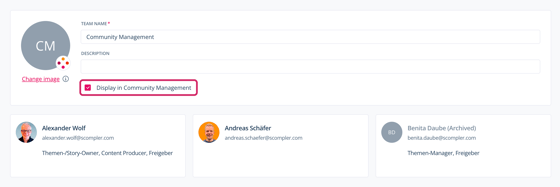
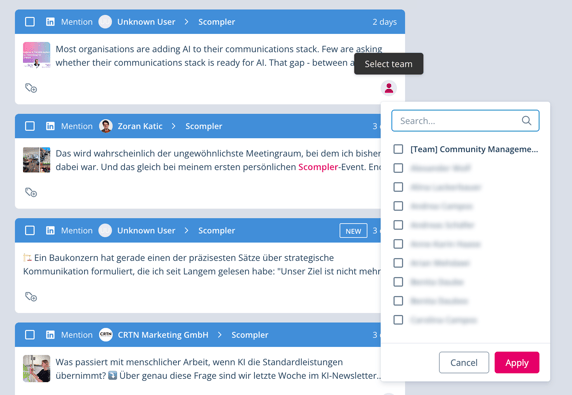
You have enabled a team for display in Community Management. The team is now visible when assigning individual tickets and can be tagged in Community Management.
Enabling this option does not automatically grant access to Community Management. Make sure that users in this team are assigned to a user role that includes access to Community Management.