The Custom fields are helpful for enriching your articles, stories and topics with additional information and support your content creation and processes. You can, for example, coordinate subtitles or introductory texts with your articles, set "calls to action" for your social media posts or document authors for your blog posts. Create Custom Fields for your project and display them in the article, story and topic cards.
Add new Custom Fields to the Library
To create Custom Fields, go to the Strategy section and click on “Custom Fields”:
- For each level at which individual fields are available, there is a tab. Please select the level on which you want to create a new Custom field.
- You will see a list of the fields already created, by whom they were created and where and when they are used. Click on “Add new field” to create a new one.
- A pop-up window will open in which you can select the type of field you want to create:
- Text Field: for entering a text of a maximum of 250 characters
- Text Area: to enter a text of max. 2000 characters
- Rich Text Editor: for entering text without character limit, including rich text elements
- Number Input: to enter numbers (here you can decide whether only whole numbers or also decimal numbers can be entered)
- Date Picker: to select a date
- Dropdown Selector: to select from a list of options that you have defined
- Enter the name of the field and the list of values (if relevant) and decide if you want to display a note explaining the field, or whether the user can later add other input components to the fields (for example, alternative subtitles, multiple authors, etc.).
5. Click on “Add”.
6. The new field will now be displayed in the list.
Configure and Activate Custom Fields
To get an overview of all article fields, you can use the quick search or the filters:
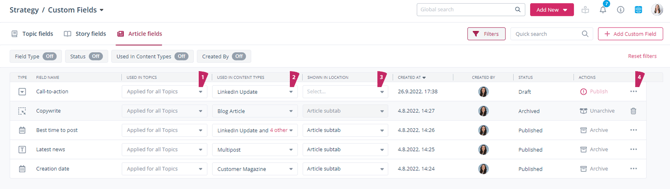
- Click on the dropdown in the “Used In Topics” column to narrow down in which topics your field will be displayed at the topic, story, and article level.
- At the post level, you can additionally specify in the “Used In Content Types” column which articles the field will be used in.
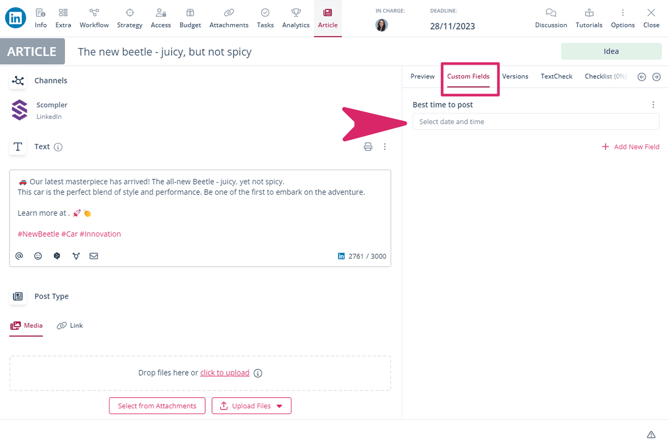
- Decide where you want your fields to be displayed on the respective card: as a sub-tab in the “Article” tab (for article fields only), in the “Info” tab, or as an extra tab.
- The status of the field – published, draft, archived – is displayed in the "Status" column. Click on "Publish" in the "Actions" column to display your field on the cards.
TIP: In the article tab - Info tab - you can create fields specifically for a certain purpose - Ad-Hoc - by clicking on "Add new field" and selecting the desired field type. This field will then only be displayed in this article card and will not be available for other articles.

Edit the Custom Fields for Content Types
- Open a content type for which a custom field has been activated and click on the tab "Custom Fields".
- You can define an alternative name for the tab in the article card. To do this, enter the desired name in the "Custom Fields" field (max. 20 characters).
- Select a new Custom Field from your library if you need more fields for this content type. You can only select fields that already exist in the library.
- Change the order of the fields with Drag&Drop.
- Save the changes so that they are displayed in the article card of each article with this content type.

Filtering by Custom Field Contents
The contents of custom fields are also available as filters and can be displayed as columns in views in the Topic and Content sections. To make your custom fields available in the filters, the option “Show as a column and filter” must be enabled for the respective field: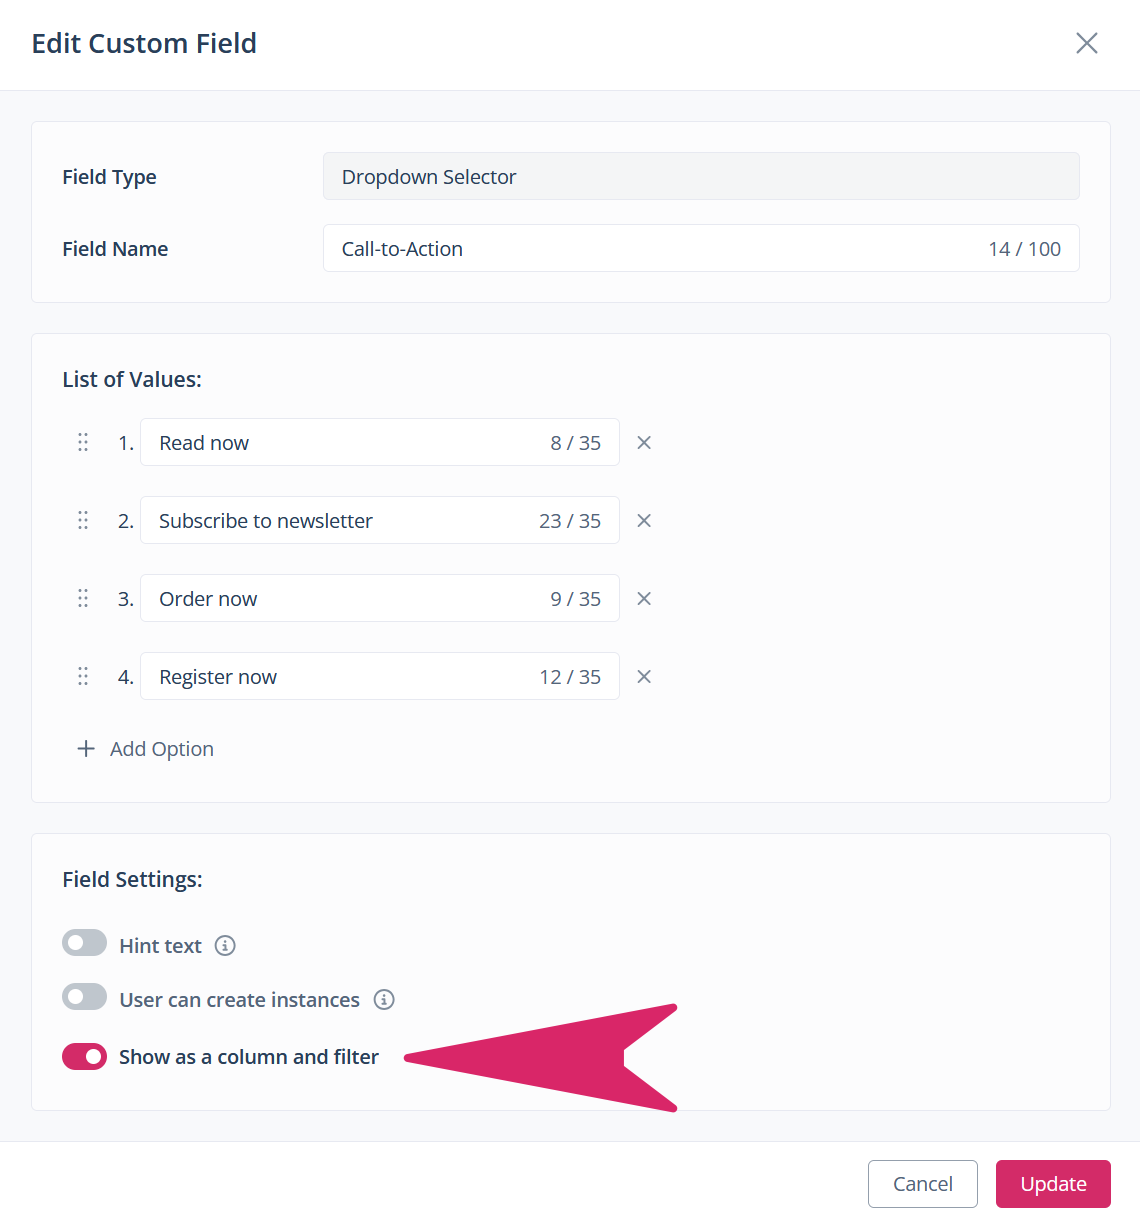
Navigate to the Topics or Content section and access the settings (via the gear icon in the top right). In the available filter column, you will find the category "Custom Fields", sorted according to the location where the fields appear, such as the Info tab. Drag and drop the desired fields into the selected filter column and click "Apply".
You can now filter within the inserted column as desired and save the changes to your view.
TIP: The field type influences how your field will be filtered in the Content or Topic section later on. For example, text fields can be searched by keywords, while date fields can be restricted to a specific time frame.
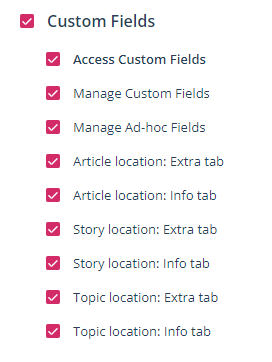
Note for administrators: For users in your project to be able to see and edit the fields in the article cards, an administrator should first activate the desired permissions in the corresponding user groups under "Custom Fields":