
- In the upper navigation bar, click Add new > Article.
The dialog to choose a content type opens. - Select YouTube.
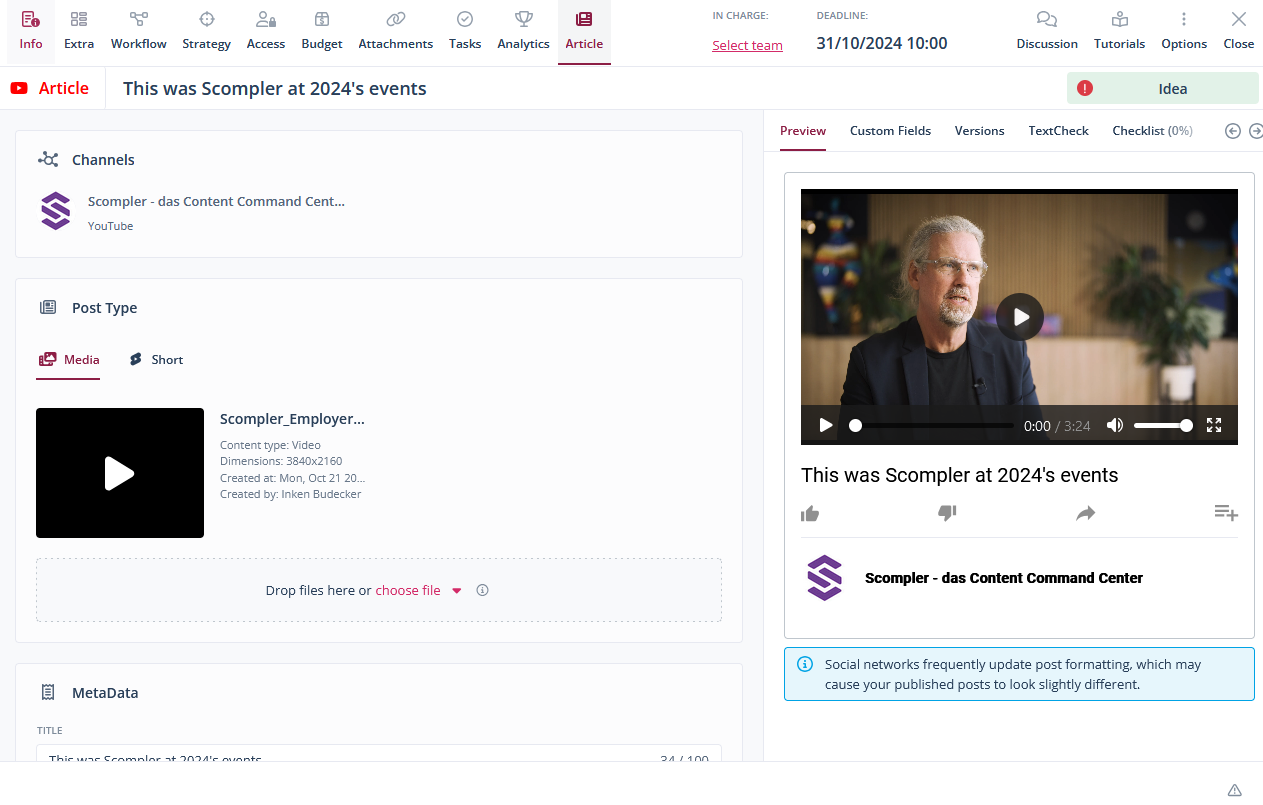
The article card opens. - Navigate to the Article tab and, under Channels, select the channel(s) you want to publish the post to.

- Under Post Type, select if you want to create a regular YouTube video or a YouTube Short. Click Media or Short.

- Drag and drop the video into the field or click Choose file > My Computer / File Storage / Attachments Tab / an available asset management integration.

- Optionally, add a thumbnail image and a subtitle (SRT file) by hovering your cursor over the video and clicking the image or subtitle icon.

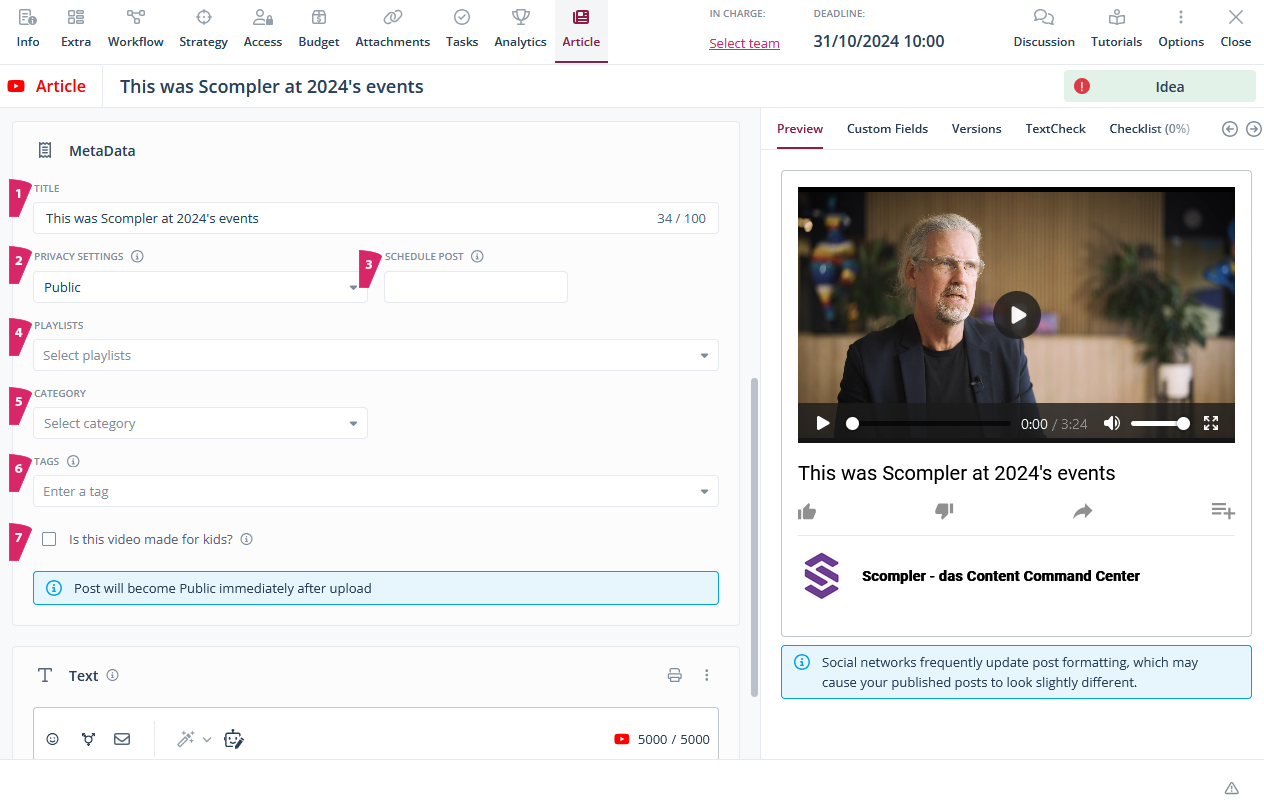
- Under MetaData enter the following information:
- Title (1)
- Privacy settings - public, private, unlisted (2)
- Schedule date (3)
- Playlists (4)
- Category (5)
- Tags (6)
- if the content is suitable for kids (7)

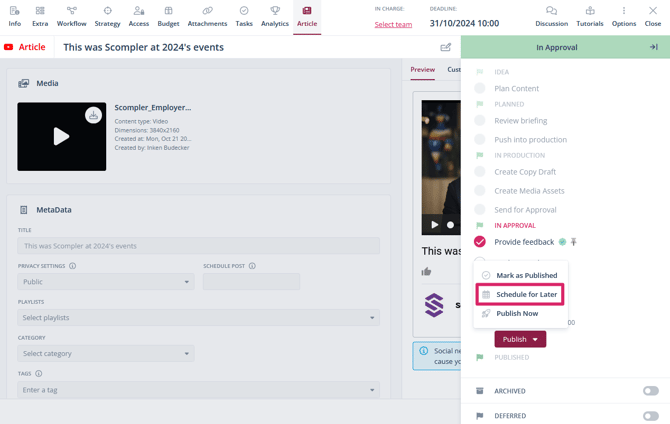
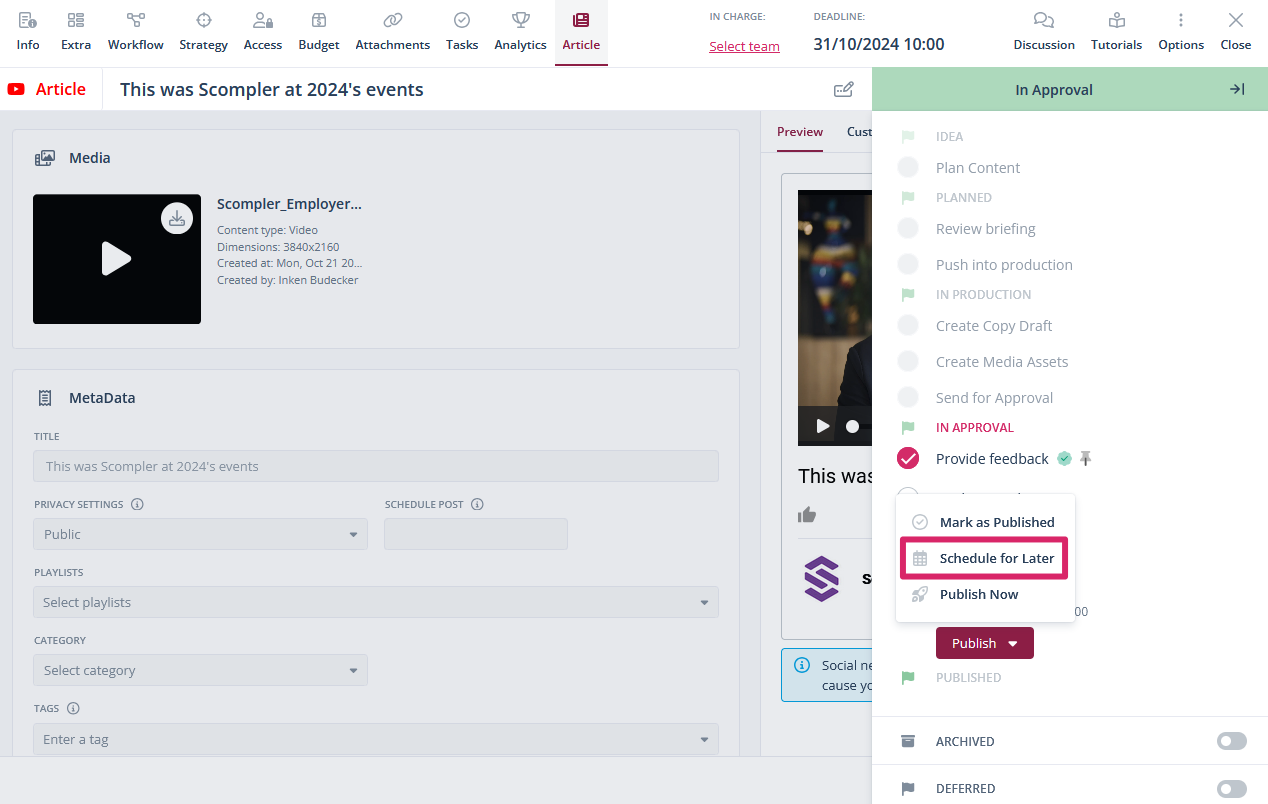
- Once your article has been approved in the workflow, decide whether it should be published now or scheduled for a later date.

You have created and published or scheduled a YouTube post via Scompler.