The standard view in the calendar displays all articles created in Scompler that have a deadline. This can quickly become crowded and confusing. Here you will learn how to use the filters to get a better overview.
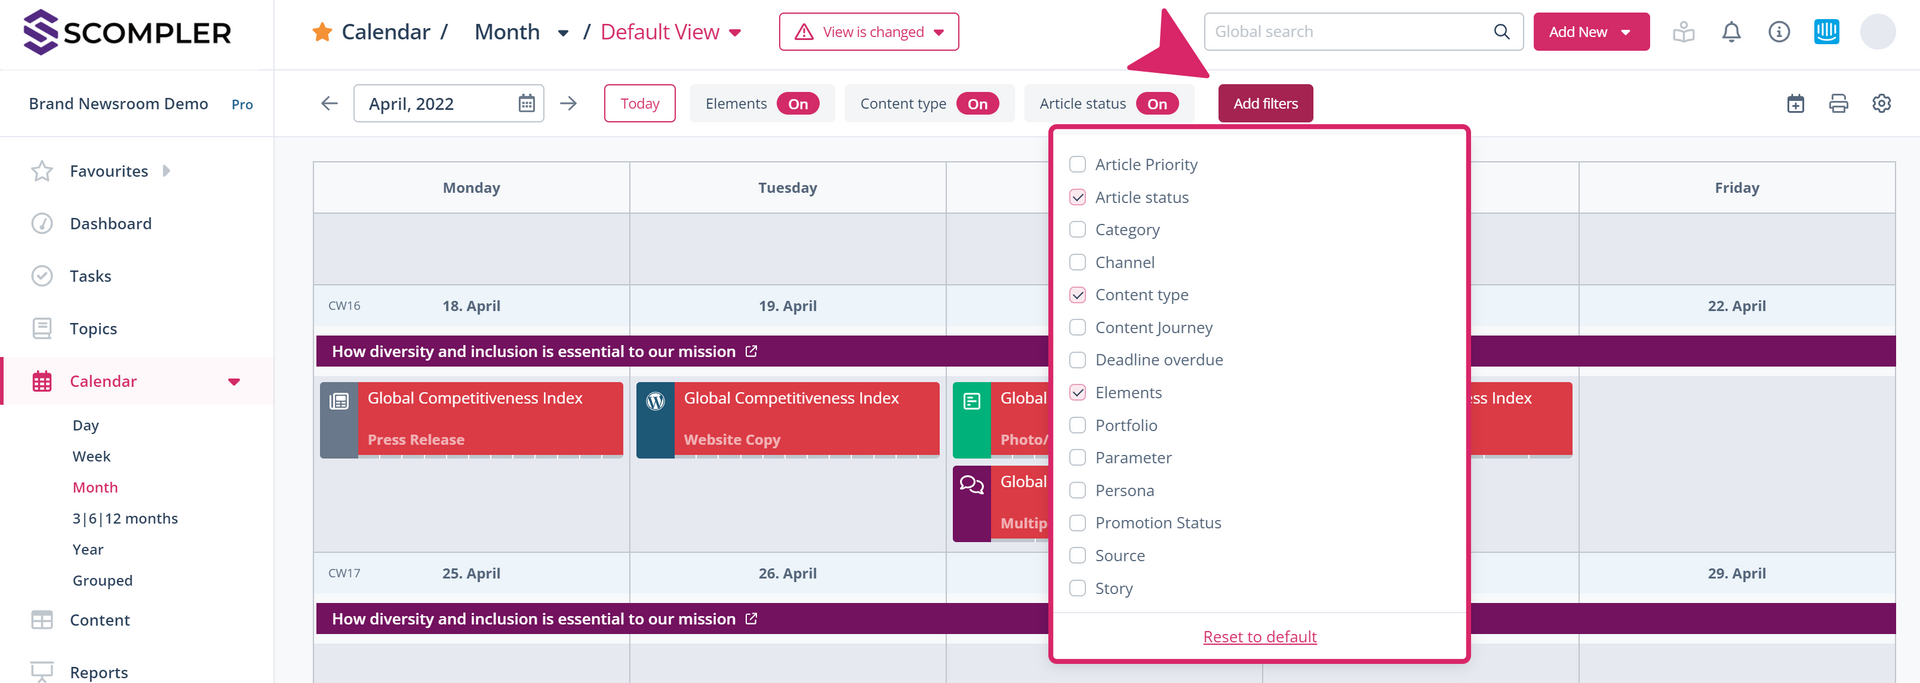
In addition to the various views and settings in the calendar, the filters are the main tools that allow you to perfectly coordinate the information you need. Use the "Add filter" button to select the criteria according to which you would like to filter:
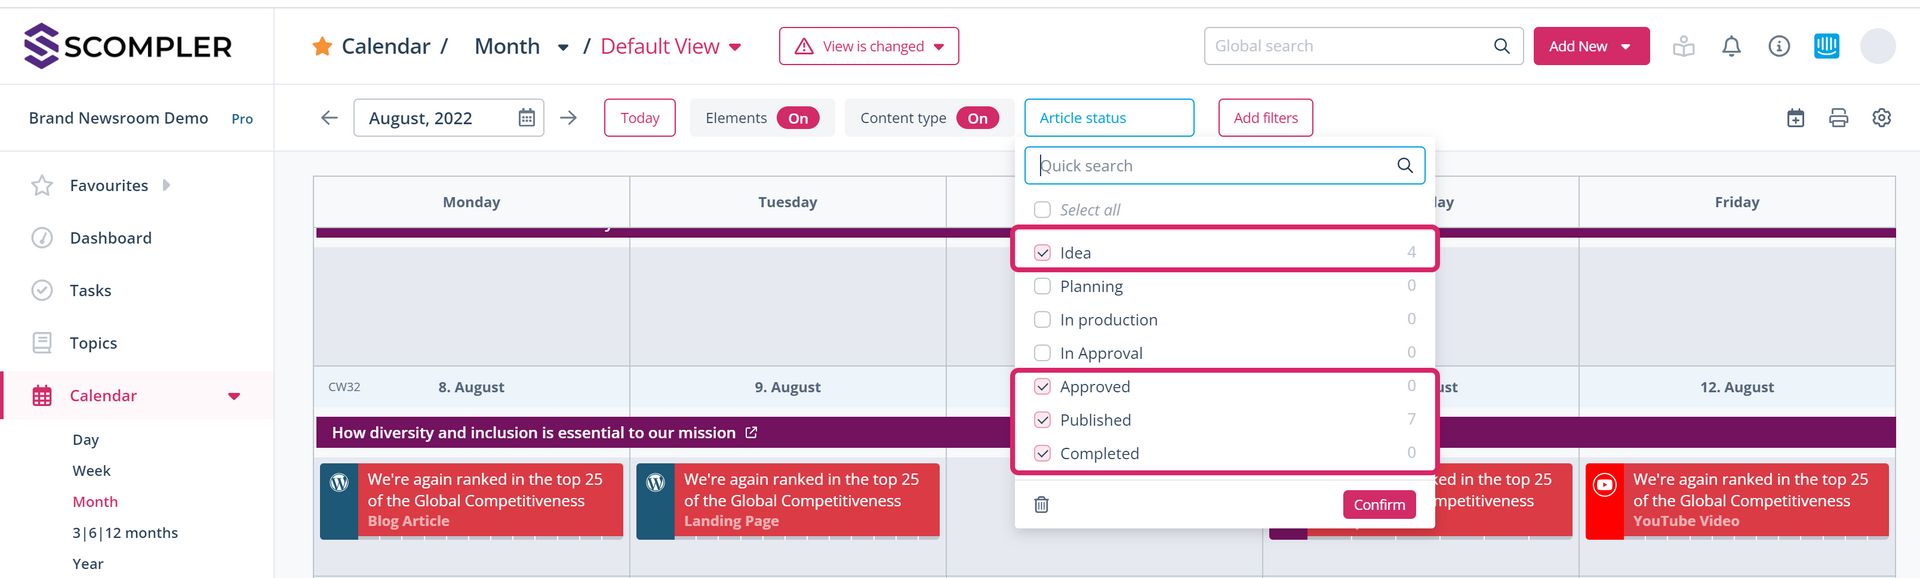
The selected filter categories are then displayed above the calendar. Now you can activate the options you want by clicking on the filters. Use the checkboxes on the left of the options to select them as active filter criteria. This way, you can combine different options and create your desired view:
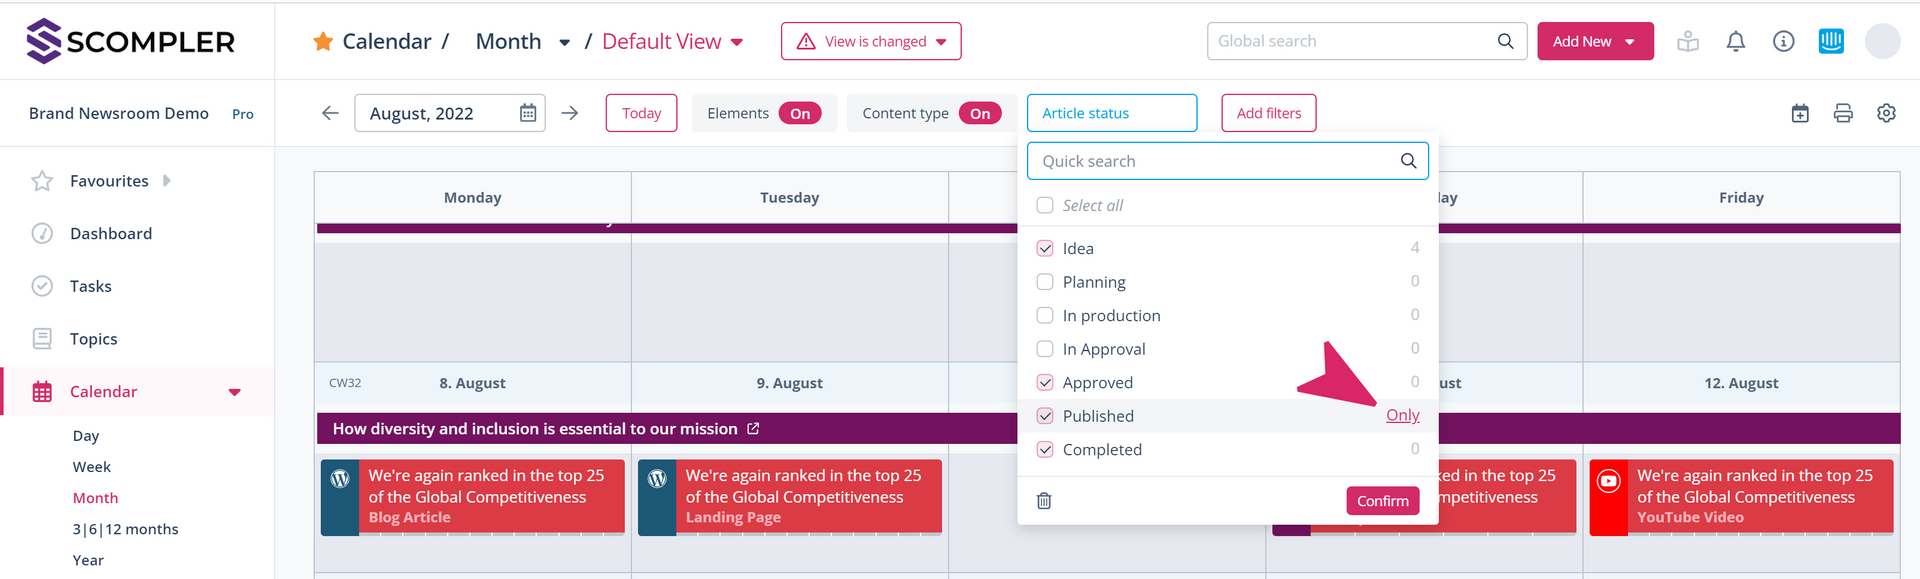
To the right of each option you will find the function "Only". Here you can deactivate all other options with one click and adopt only this one option when selecting this filter criterio. The selection of the other criteria remains the same and thus defines your view:
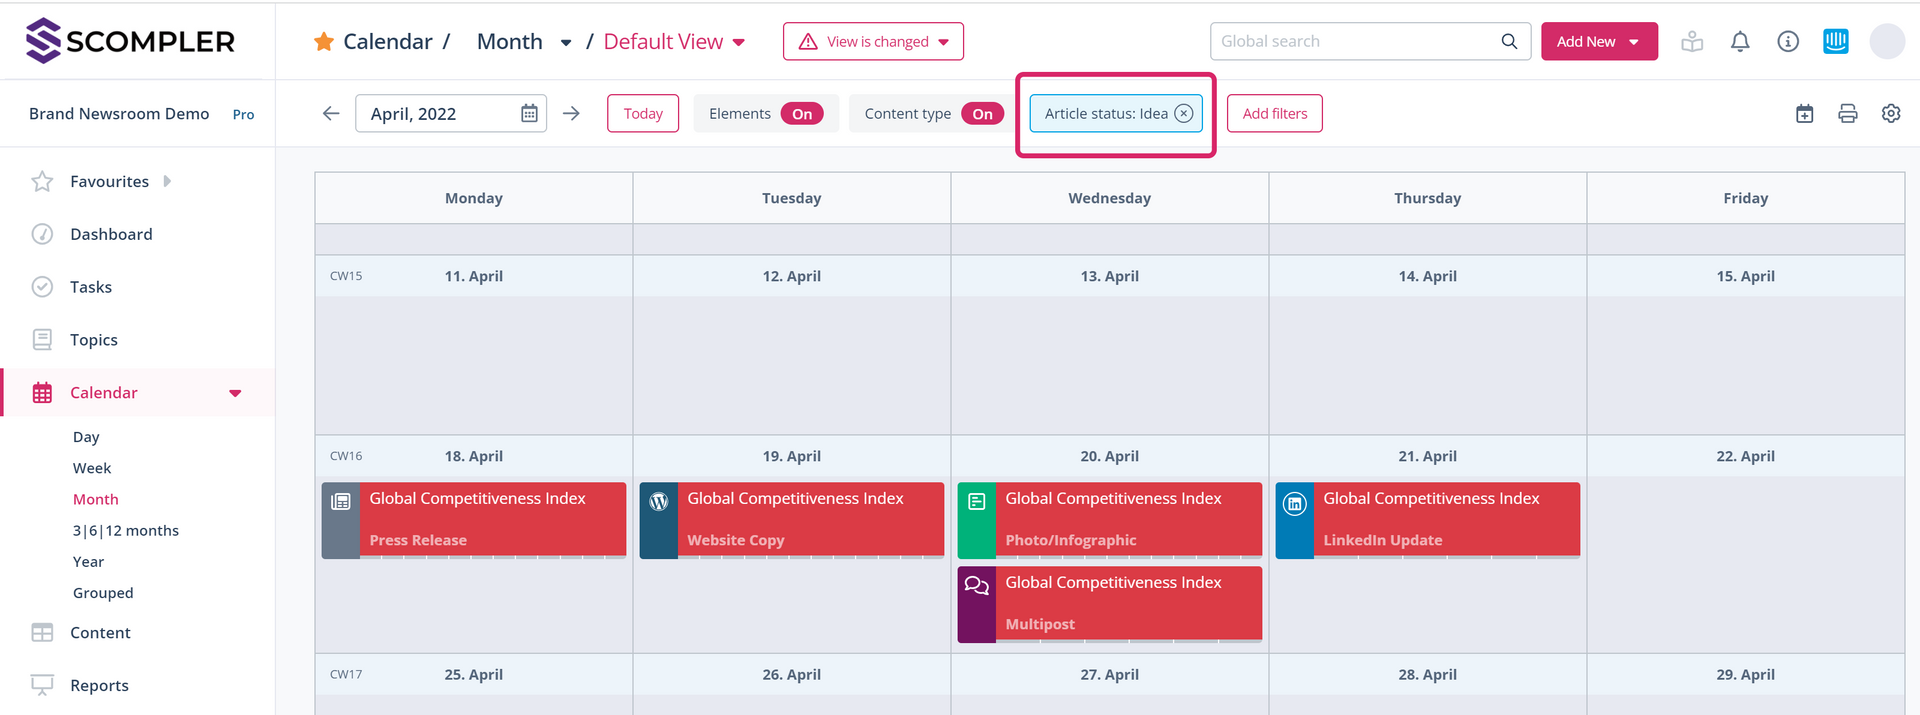
If you click directly on the name of an option, you activate a special filter. You will then see ONLY content that is directly related to the selected option. For example, only a certain content type, or all content of a selected story. In this mode, the active filter is highlighted in colour. Click on the "X" next to the filter name to return to the standard view of the calendar.
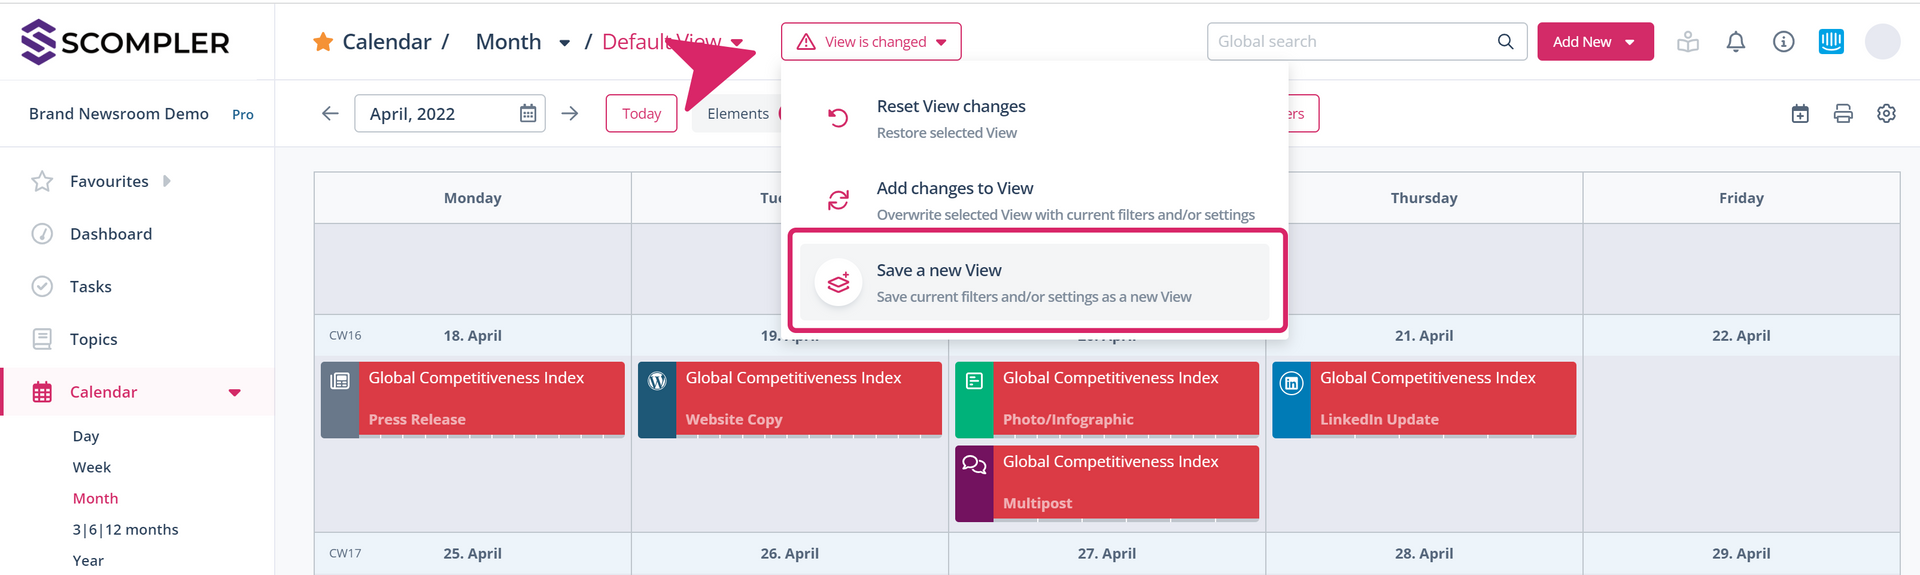
Save views that you need often as personal or global views and add the most important ones to your favourites to access them quickly.