

Content in Scompler is classified on four levels: Topic Fields > Topics > Stories > Posts/Articles. The “Categories” are on the top of the structure. They differentiate the main content areas of the communications activities from each other. They serve as topic clusters for similar or related "Topics". An example is the Category "Events and Occasions", under which all content about meetings and planned events can be assigned.
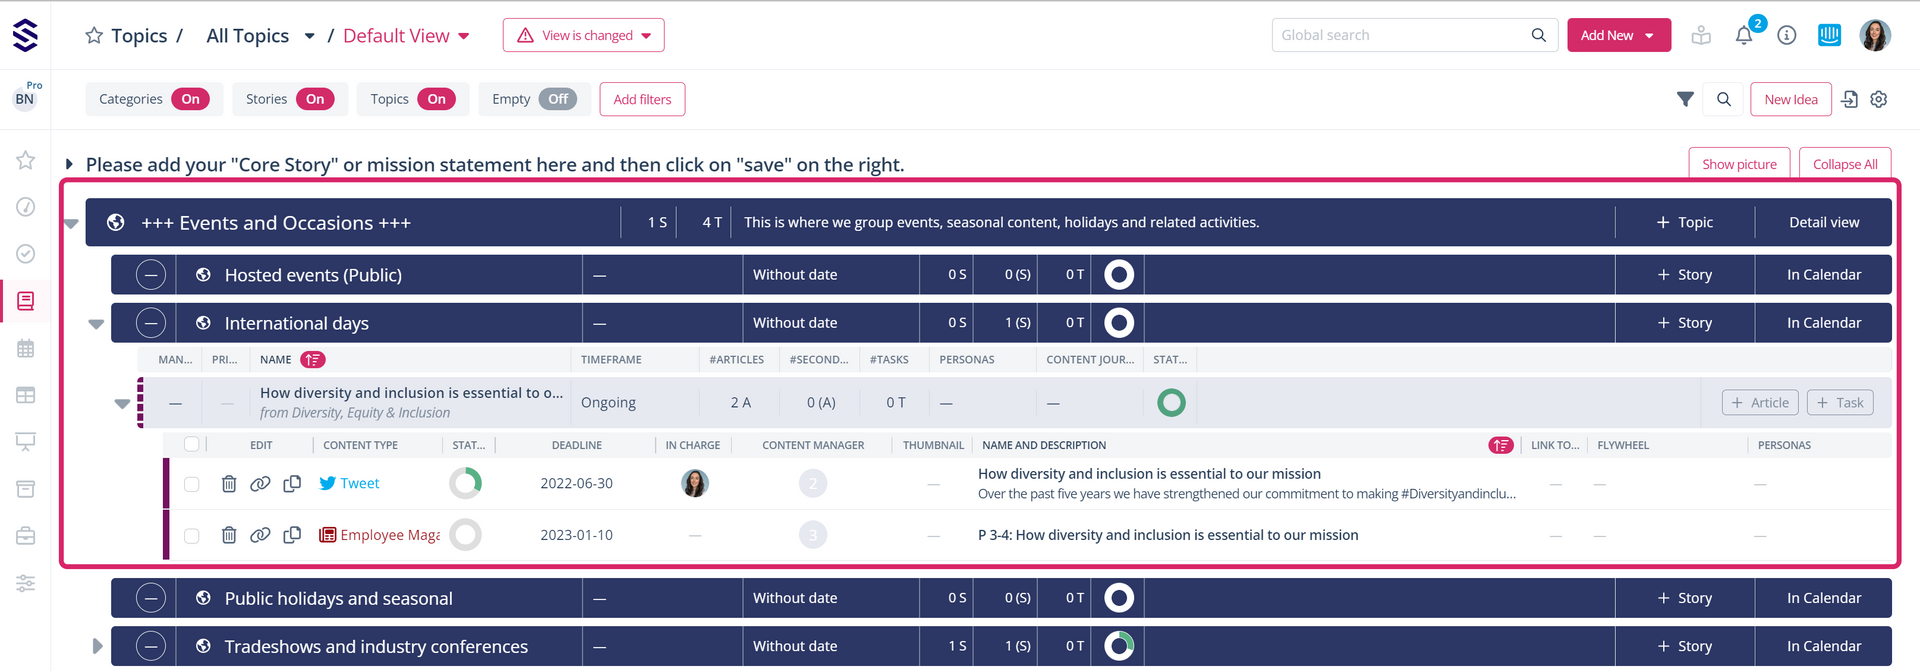
Before you start with your daily tasks in Scompler, you should set up the Categories under which you want to manage all of your future communications. You have two options for editing the Categories: Under “Strategy" > "Categories” or directly in the Topic view.
Tip: You can create new Categories in the Topic view. To do so, scroll to the bottom of the page and click on "New Category". Then follow the steps described below.

- The "Categories" section already contains a number of predefined entries that you can customise and expand to suit your needs; the "Events and occasions" Category mentioned above is one of them
- You can also store your "Core Story" or your "Mission Statement" here in order to have it permanently accessible
- You can use the "Edit" function to rename and adapt each Category
- You can activate and deactivate Categories in order to display only the relevant ones in each case
- Use the "New Category" function to add further Categories to your set, if required

If you edit a Category or create a new one, a pop-up window opens in which you can change the settings for the respective Category:
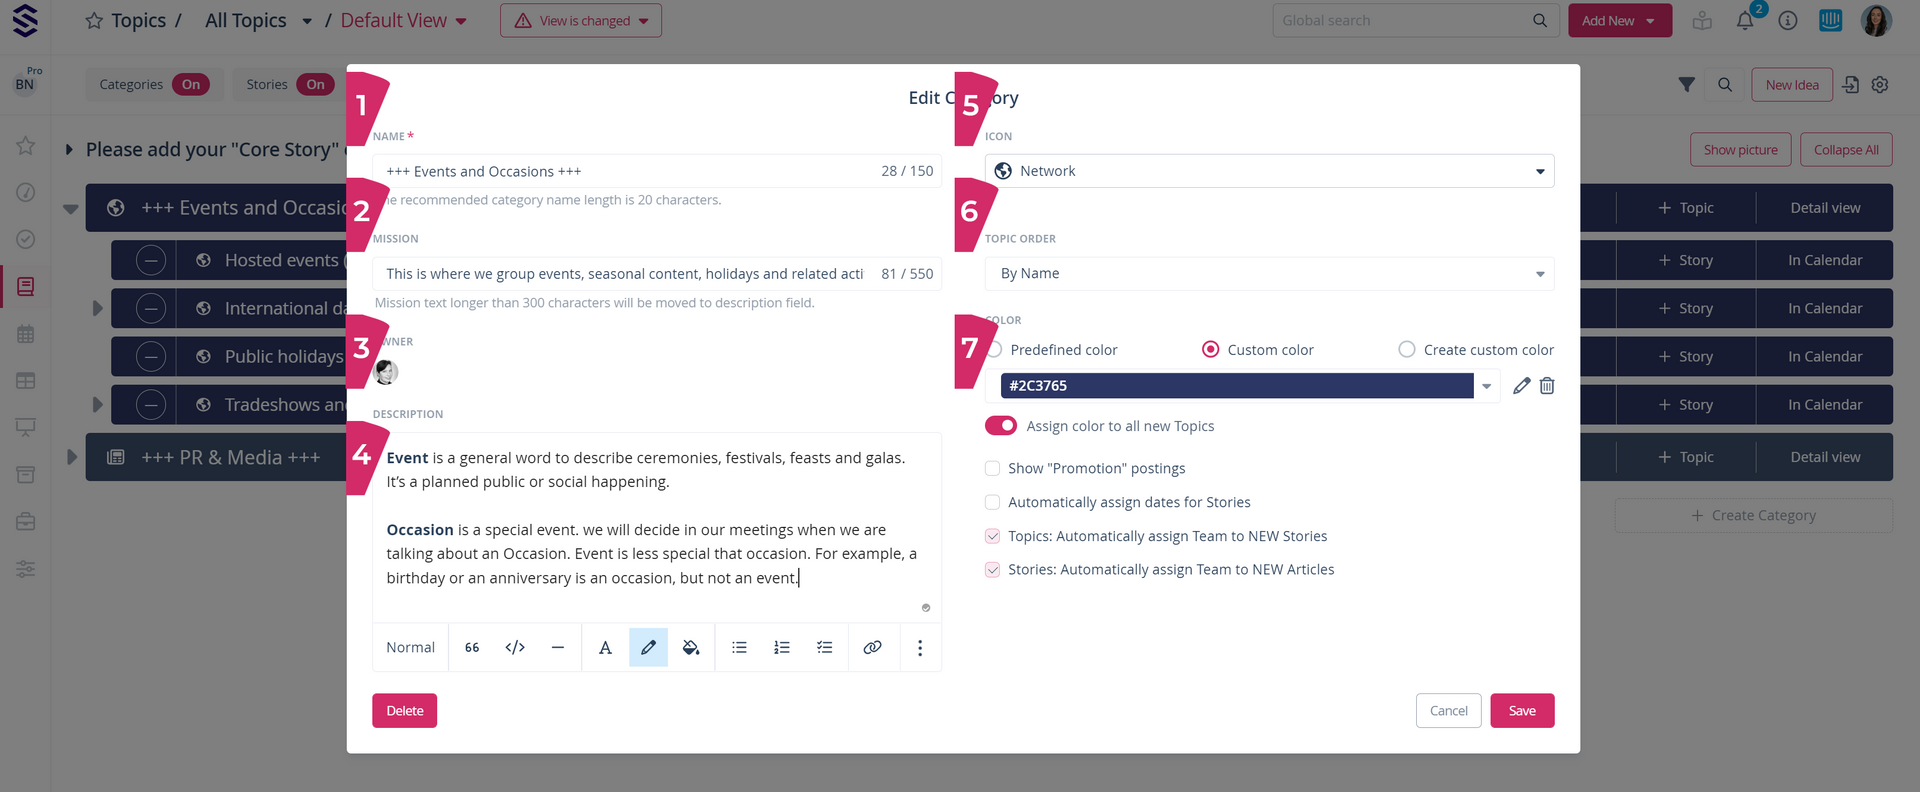
- Enter the name for your Category, or rename it
- Enter the "Mission" for this Category
- Select the person responsible
- Enter a description
- Set an icon to represent the Category
- Determine how topics below the Category are sorted/displayed in the topic view: Alphabetically, manually, by score (if using topic scoring), or by schedule
- Choose a predefined colour for your Category, or define a colour tone yourself
- Click on "Save" to apply the settings
The Categories you define are then available in the Topic view. You can then create your Topics > Stories > Articles there.