
In Scompler, you create social media posts as articles and publish them directly to your integrated channels. Each section covers one part of a post, from the text and media to the posting options and publishing.
Prerequisite:
- The channels you want to publish to are integrated in Scompler
Create a Social Media Post
You can’t create or publish Facebook stories or LinkedIn shorts from Scompler.
- Click Add new > Article.
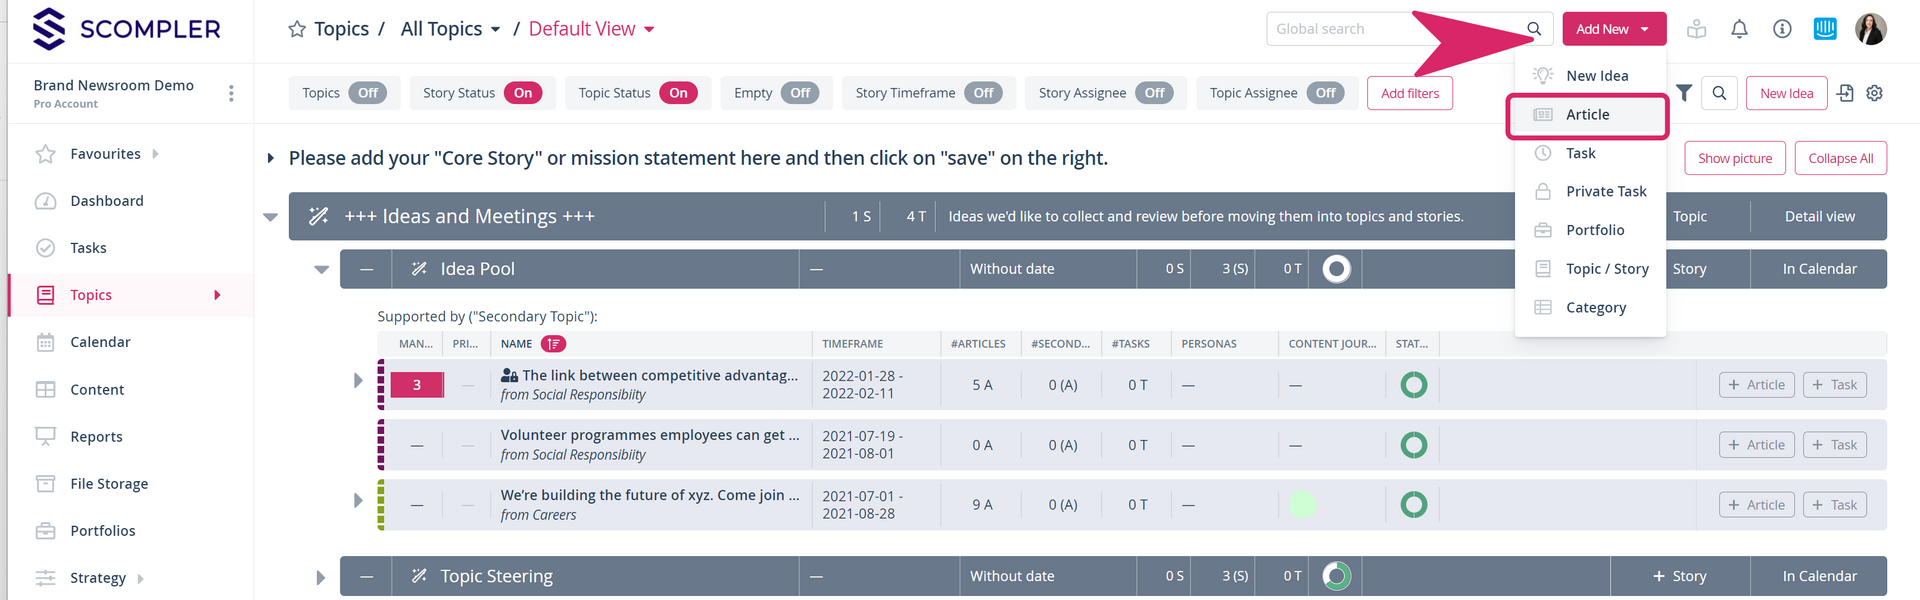
- Select the content type of the network you want to publish to.
- Under Channels, click Select Channels.
- Select the integrated channel you want to publish to.
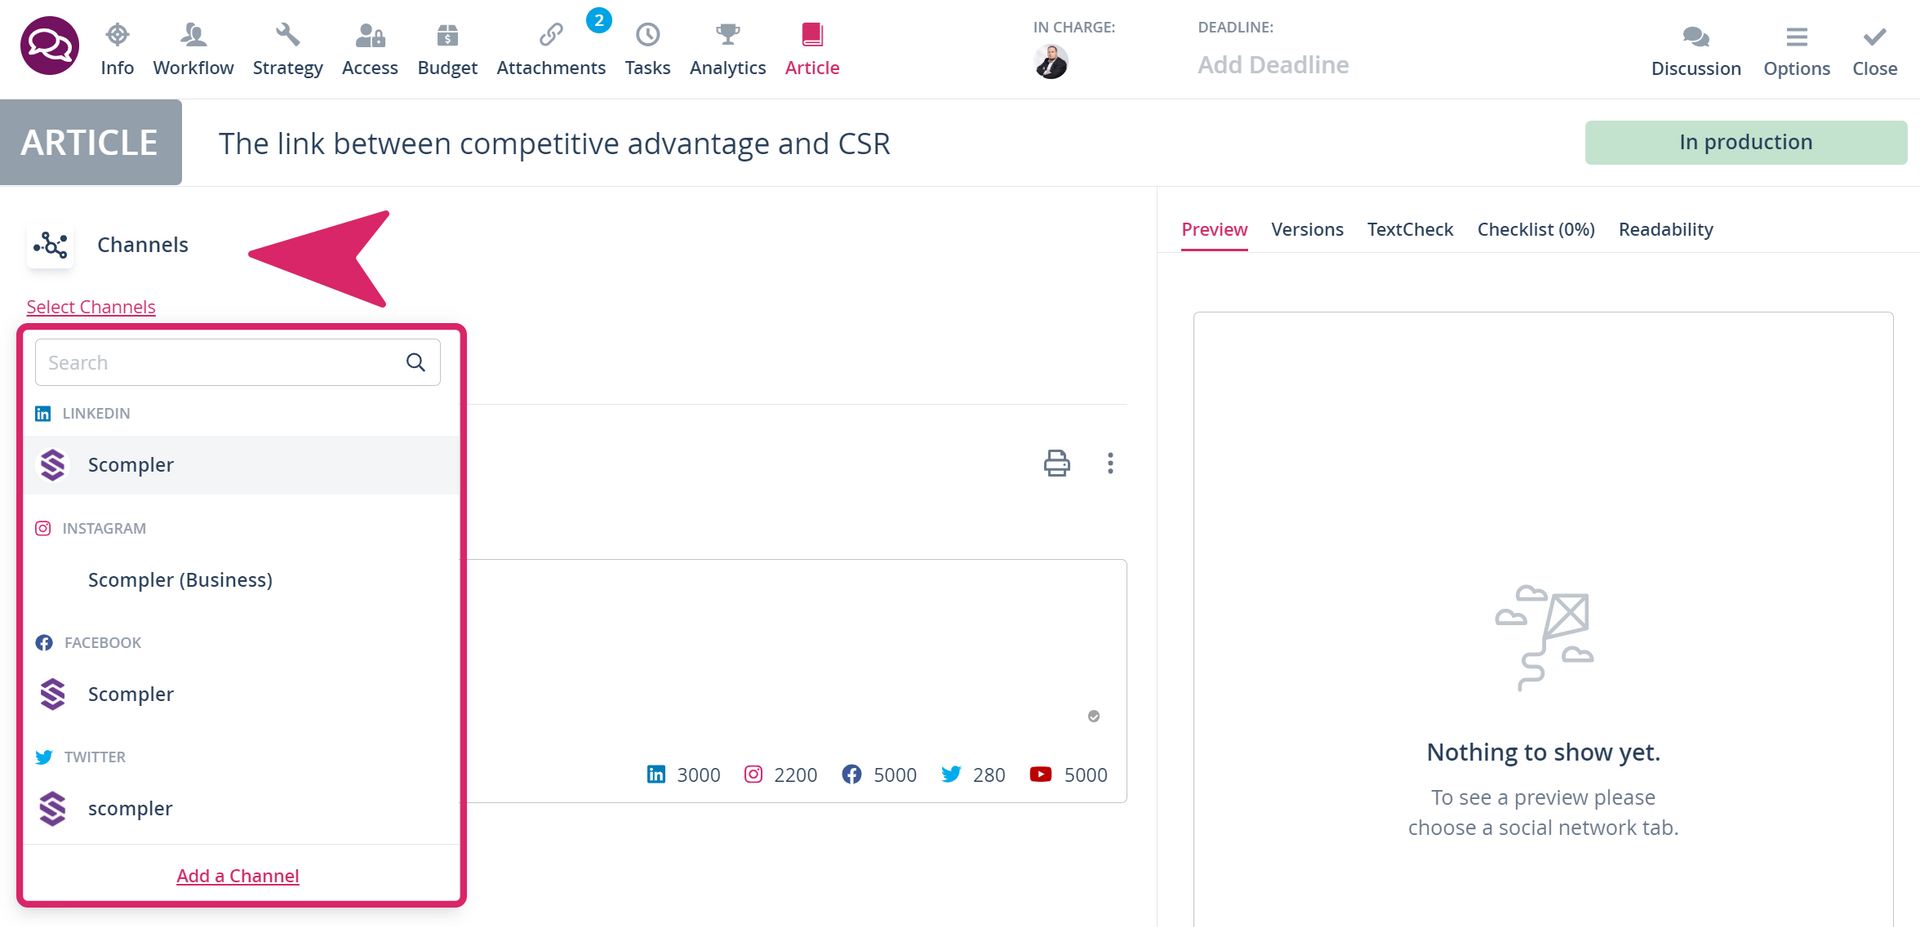
You have created a social media post.
Learn how to create an article in a story. To publish on several networks at the same time, create a multipost.

Add Text, Mentions, and Hashtags
Enter the text of your post in the text field. You can add the following to the text:
- Emojis: Click the emoji icon
- Mentions of profiles or pages: Click the @ icon
- Hashtags: Enter the # symbol
Hashtags and mentions are highlighted in color, so they stand out in the text.

Add a Link
You can add links to posts for Facebook, LinkedIn, and X.
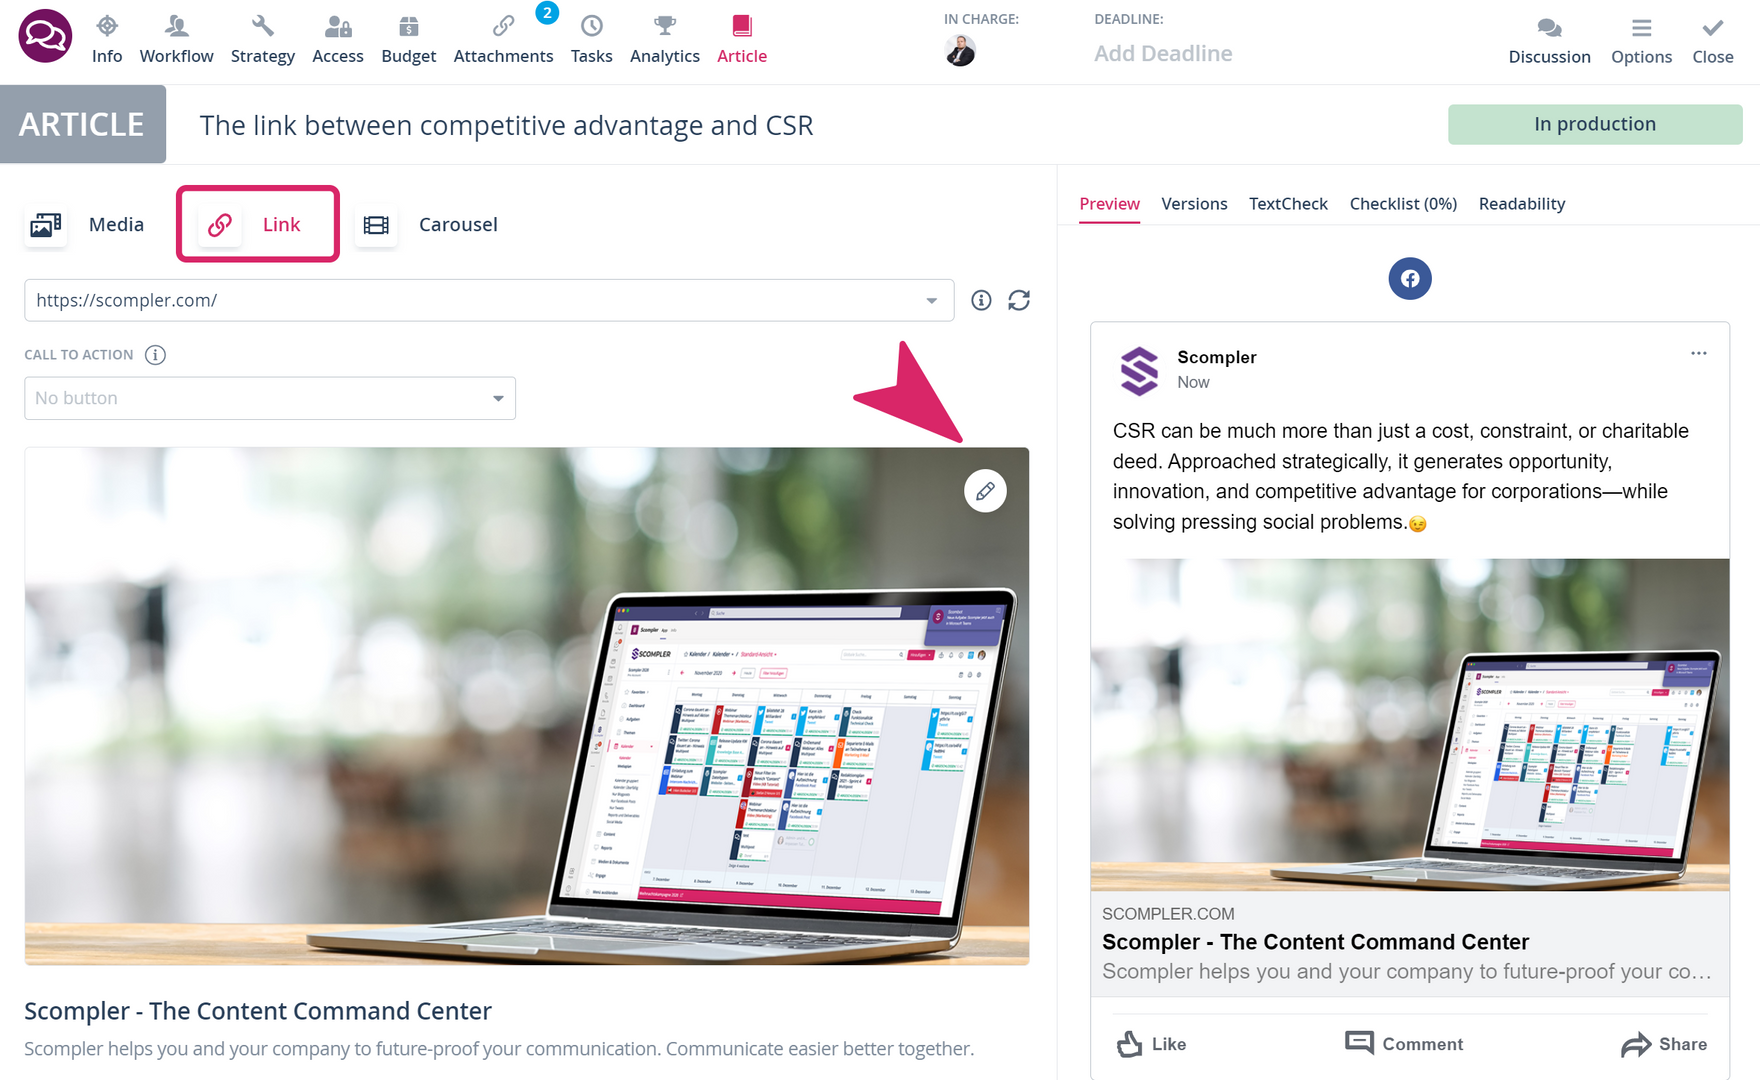
- Click the Link tab.
- Enter the URL.
You have added the link. The post shows a clickable preview of it.
To add a link to the text instead, paste it into the text field. To shorten it, click the three dots icon of the text field and use the URL shortener.

Edit the Link Preview
For LinkedIn and Facebook posts, you can edit the preview image, headline, and description of links to your own verified domains.
- Hover over the preview image, headline, or description.
- Click the edit icon.
With a Facebook carousel, you can add two or more images, descriptions, headlines, and links or calls to action to a link post. Learn how to create a carousel post.
Add Images or Videos
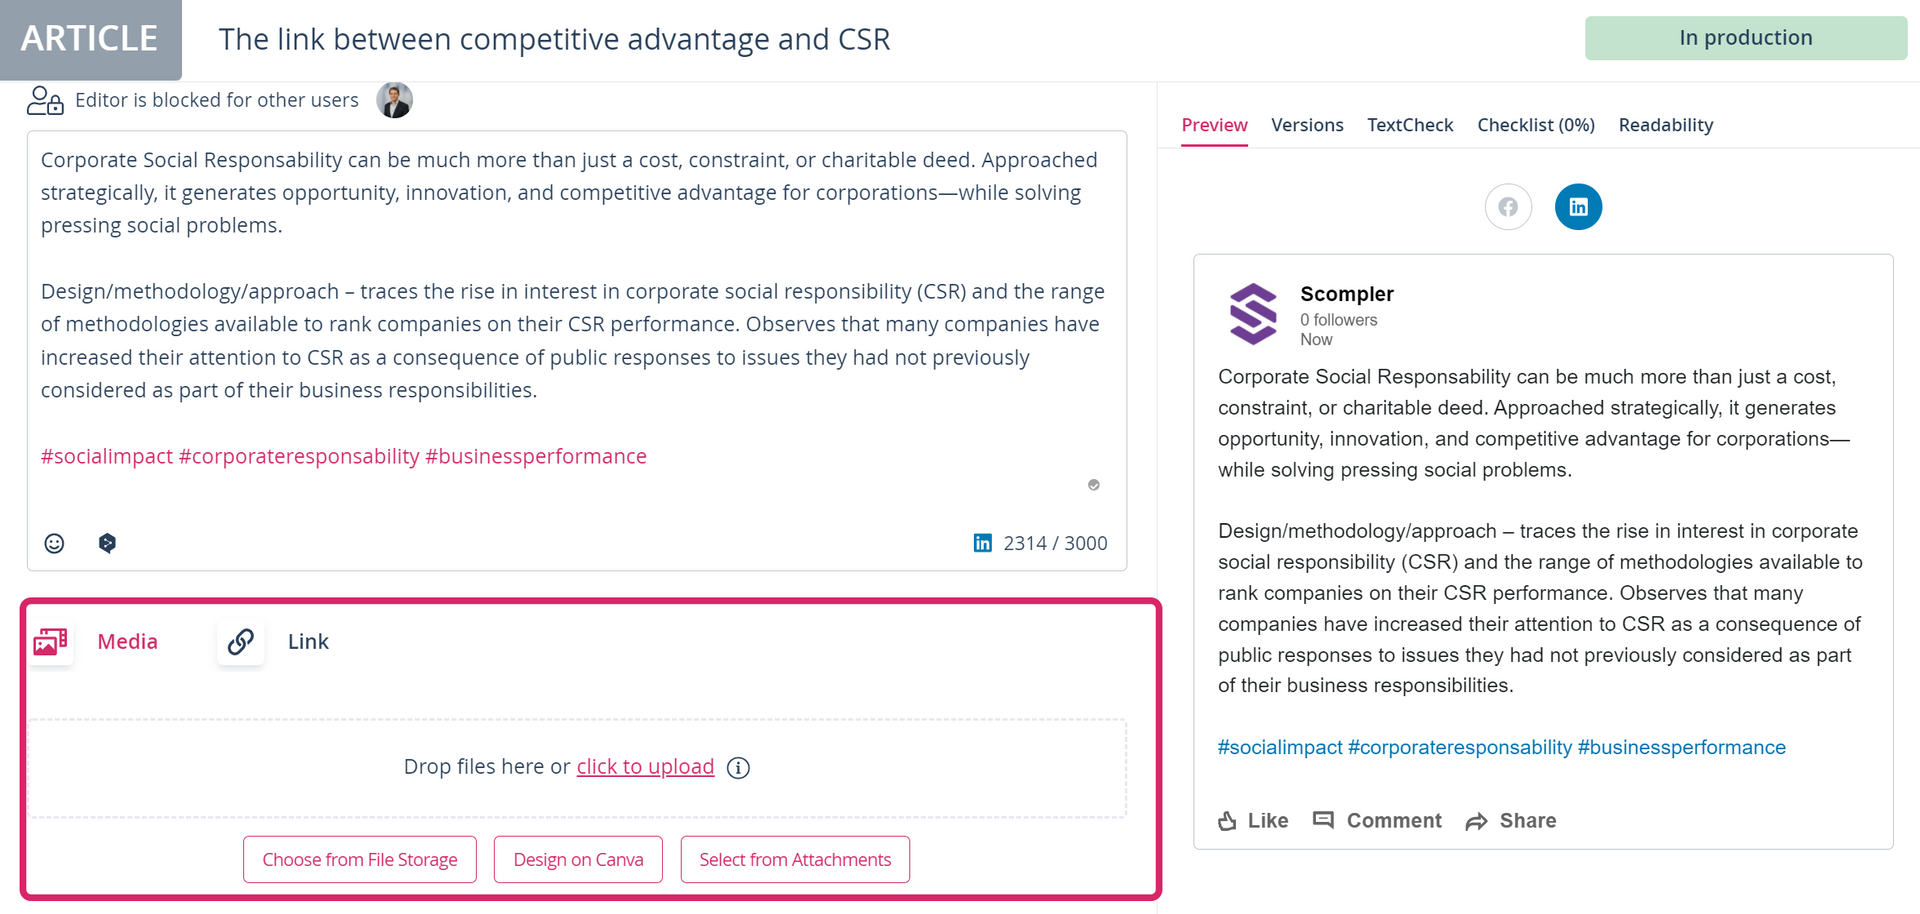
Below the text field, add an image in one of the following ways, depending on where it is stored:
- On your computer: Drag the file into the media area or click click to upload
- In File Storage: Click Choose from File Storage
- In the Attachments tab of the article: Click Select from Attachments
Learn how to adjust images to social media formats and how to change the order of images.
You can add up to 9 images to a LinkedIn post.
Add a Video Thumbnail
For Facebook, LinkedIn, Instagram (reels only), and TikTok, you can also add a thumbnail to the video. The recommended size is 1200 x 677 px.
- Hover over the video.
- Click the image icon.
- Click Upload image or Search file and select the image.
You have added the thumbnail. For Instagram reels and TikTok videos, you can also use a frame of the video: in step 3, click This Video.

Set Posting Options
For some networks, the article card shows the Posting Options section. Hover over the question mark icon of an option to see what it does. Under Posting Options, activate the options you want.
The following options are available. Unless noted otherwise, an option applies to all post types of the network.
- This is an unpublished post ("Dark Post")
- Send as a Draft
Learn how to create dark posts.
- Share to Feed (only for reels)
- AI-generated content
- Manage collaborators (not for stories)
Staffbase
- Commenting
- Liking
- Acknowledging
- Highlighting
- Send push notification (all languages)
- Send email notification (all languages)
TikTok
- Caption
- Who can watch this video (everyone, friends, or private)
- Allow users to (comment, duet, or stitch)
- Disclose post content
- AI-generated content
Set the Target Audience
For LinkedIn posts, you can set the language, industry, company size, job title, and location of your target audience. For Facebook posts, you can set the location and the target countries.
- Under MetaData, open the drop-down list of the attribute you want to set.
- Select the options you want.
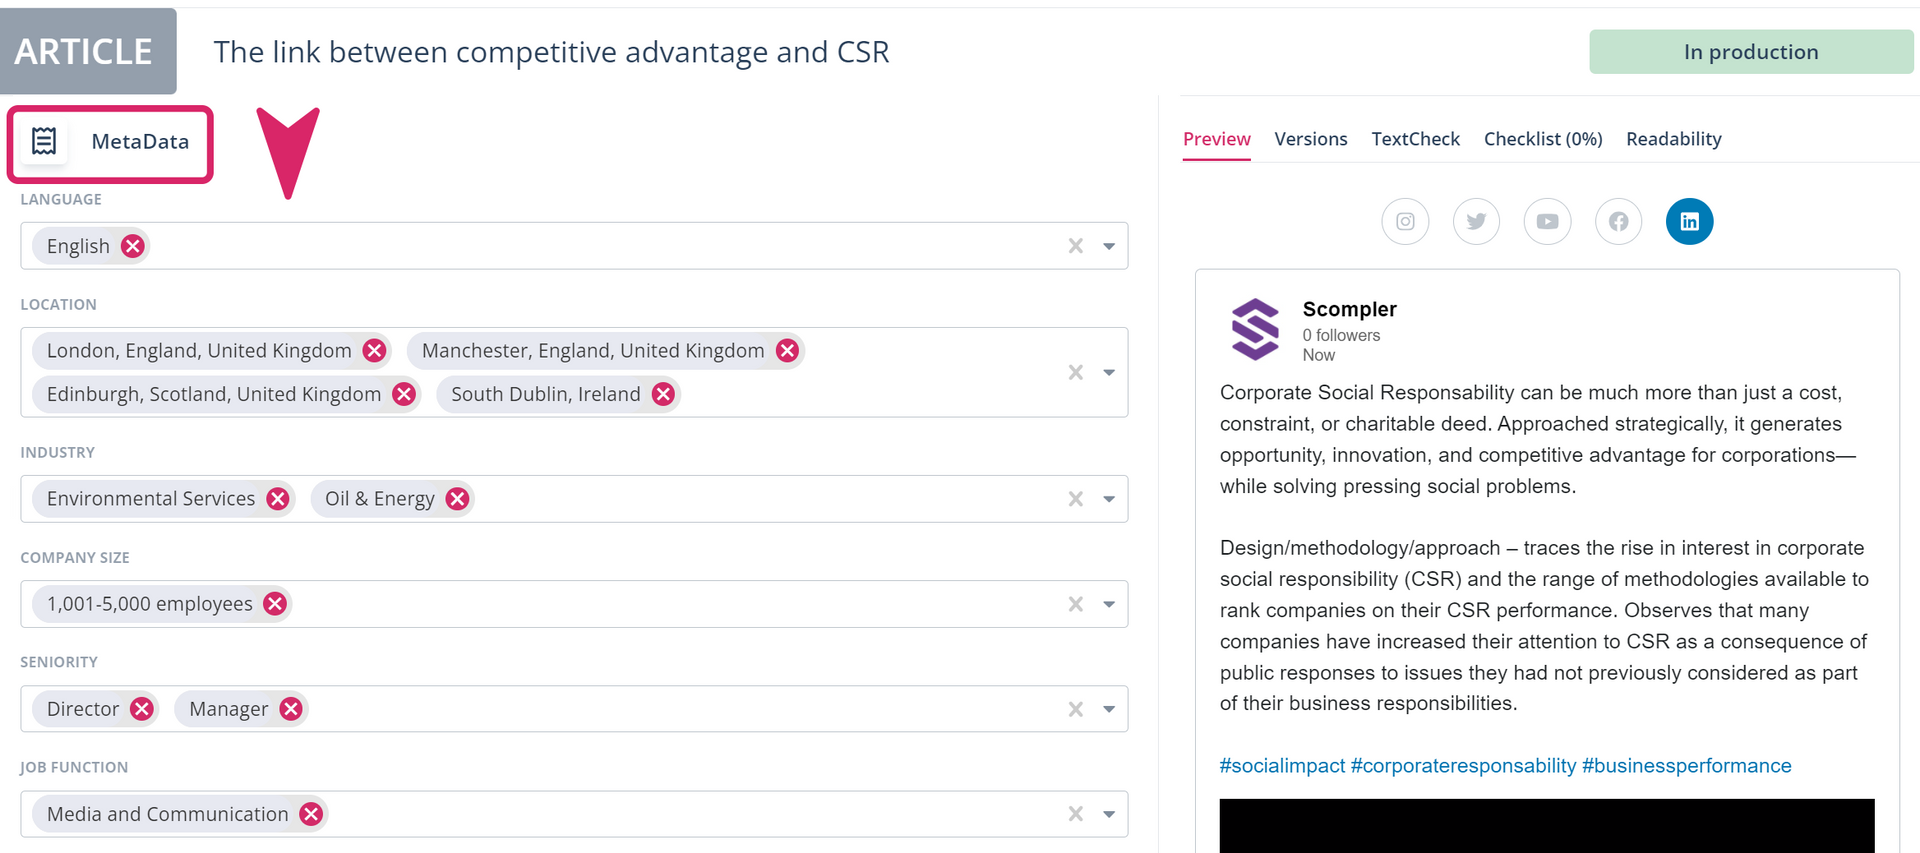
You have set the target audience of your post.
Publish a Post
- In the article card, click the status of the article.
- Complete the steps of your workflow and set the publishing date and time.
- Once the article is approved, confirm or change the publishing date.
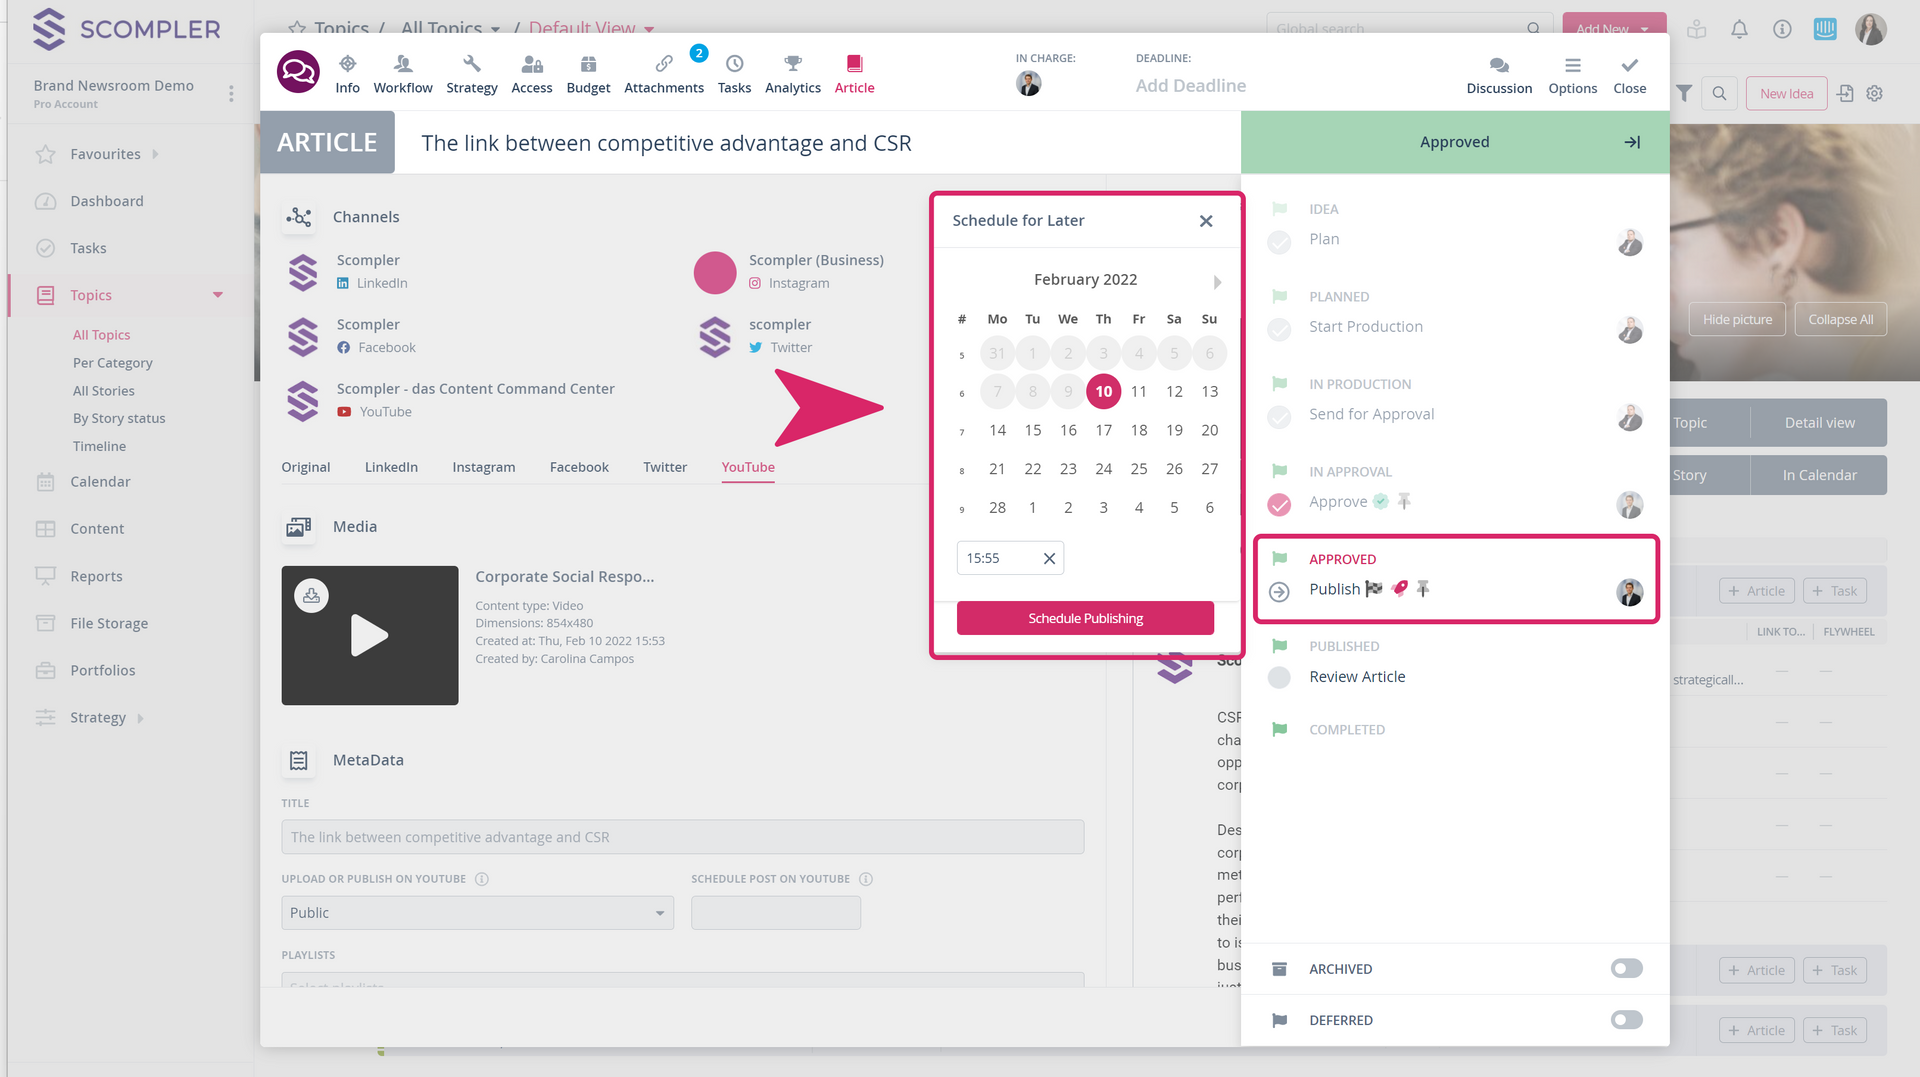
You have scheduled the post. Scompler publishes it automatically at the set date and time. To publish it right away instead, select Publish now in step 3.
