How do I adapt the workflow to my processes?
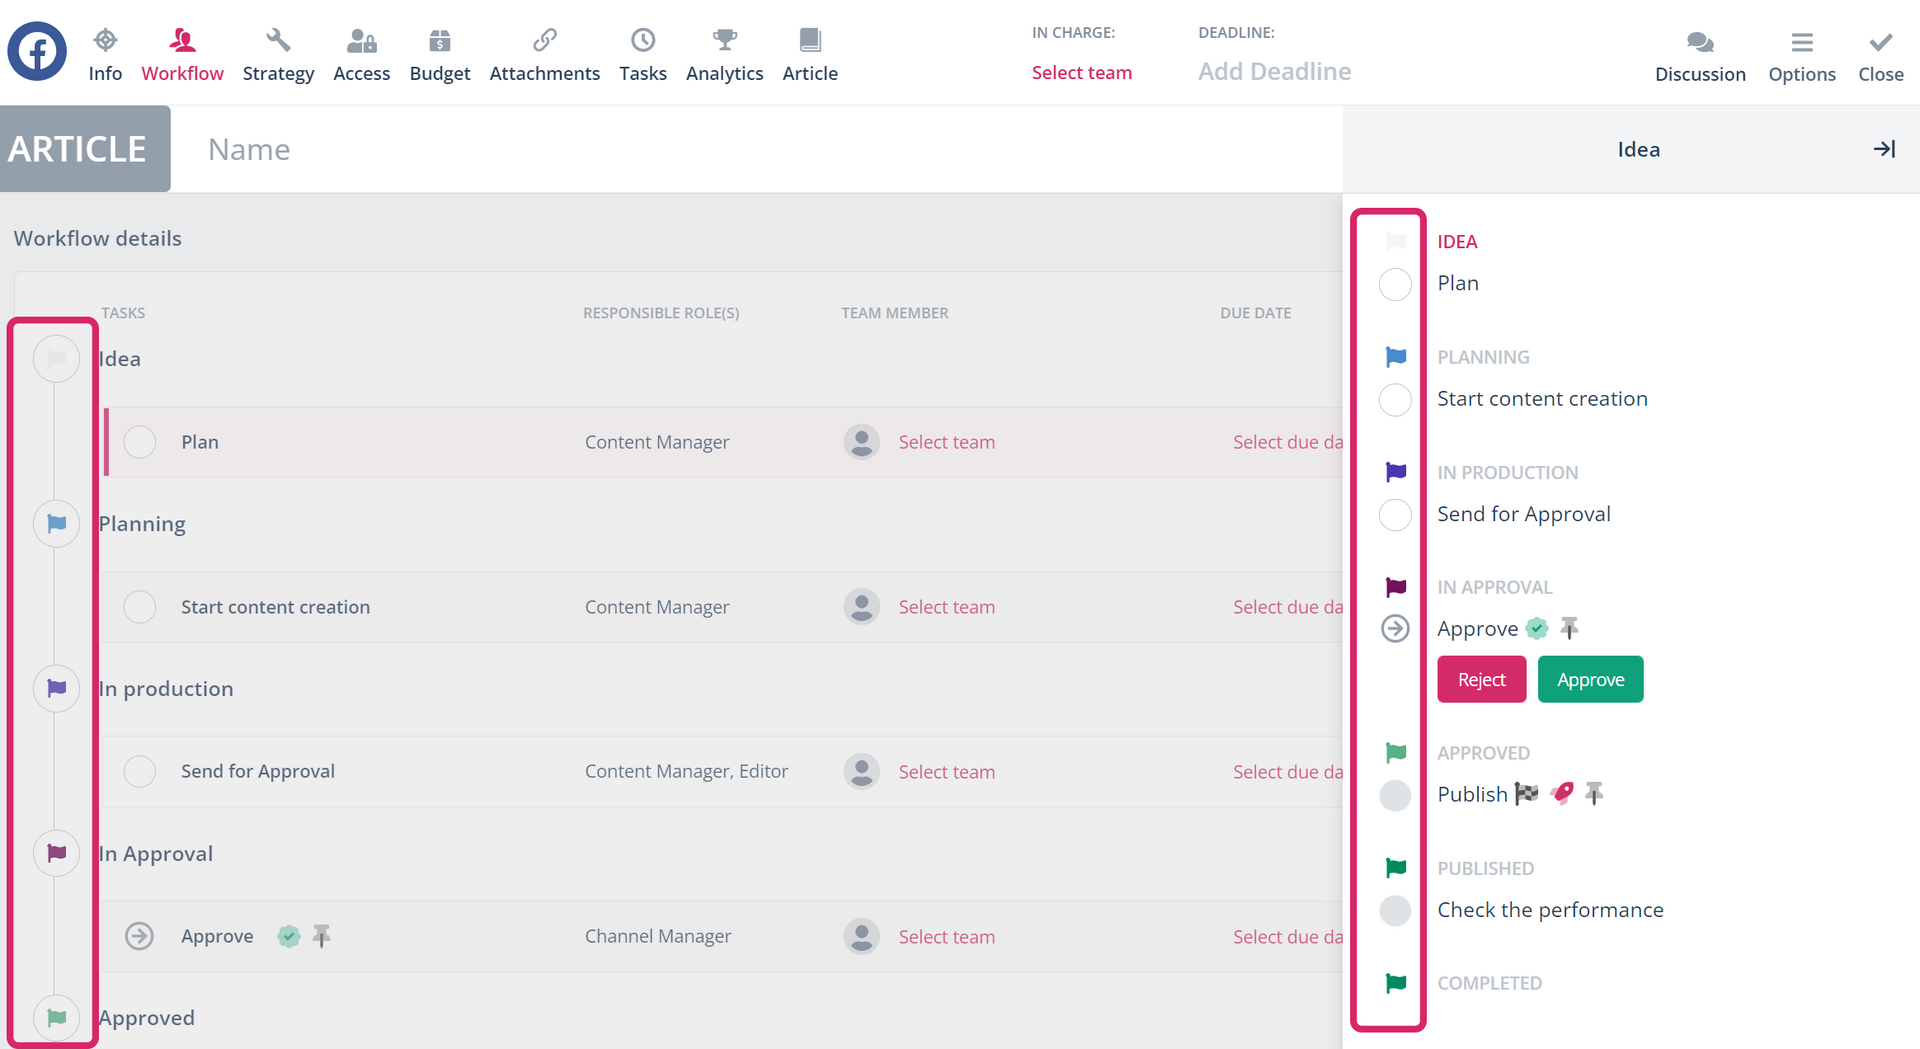
Adapt the workflow to your processes by deleting, renaming, relocating or adding new tasks. Personalise workflow phases with your terminology and hide those you don't need.
To customise the workflows, open the workflow section in the strategy menu. Click on the workflow's name to edit. Define which tasks can be skipped when creating articles, which tasks correspond to the approval, and which tasks are to be used for display in the calendar. The approval step must always take place BEFORE publishing.
You can also lock one or more tasks so that they are only completed by the assigned user and the task assignments in the article card cannot be changed.
Customise the steps in the workflow
- Rename tasks by clicking on their name.
- Edit the name (1), add a description (2) if needed and save your changes (3).
- Here you assign responsible roles to the task (4).
- The approval switch (5) marks this task as the approval, after which the article can no longer be edited.
- If this option is activated, the task is seen as a publishing step (6), which is important for social media articles. The task with activated publication must always come after the approval task.
- Setting the deadline task (7) means that the date of the task is set as the deadline for the entire article. This is displayed in all articles with this workflow and in the calendar.
- If you create several tasks within a phase and set them as “skippable” (8), the tasks can later be completed in parallel, regardless of the order shown. Only when all tasks within a status have been completed will the status be changed automatically.
- The assignment lock prevents you from manually assigning a task to a user other than the one specified in the predefined team (9). In the overview page of the workflows, you can specify users who can still overwrite the responsibility for the respective task in the individual articles later.

- The last column on the editing page allows you to set the desired task duration to up to 200 days (10). This affects the “Calculate due dates” option, which can be found in the article workflow.

- Add as many tasks as you like to a status phase. To do this, use the “New task” option on the right in the respective status period (11).
- You can hide tasks by clicking on the “X” at the end of the line (12). These will then be available to you below the last workflow period (13). This means that you can add them again at any time.
- If you deactivate all tasks within a status phase, you will see a message telling you that you must first add a new task to the status in order to save the changes (14).
- Alternatively, you can also hide the status period. This option becomes visible when you move the cursor over the status name. You can also reactivate a deactivated status in this way. If you drag a task into an inactive status, this will also become active again.

You can adjust the order of the tasks. Drag the selected task to any position within your workflow by holding down the mouse button. A prohibition symbol shows you whether the desired position is possible for the selected task.
You can now save your customised workflow. If many users are actively working on your project, it is advisable not to apply the update immediately, but to set it for a later time.
Adjust the phases/status of the workflow (rename, adjust colour code)
(Only available for PRO projects)
In addition to changing the order of every task and adjusting the scope of your workflow, you can also adjust the naming and colour coding of the phases/status.
- Open the status options via the cogwheel symbol in the top right-hand corner of the workflow section
- Rename a phase/status by clicking on the name or the pencil icon at the end of the line
- To customise the colour of a phase/status, click on the colour circle and then select the desired colour or create the matching colour yourself

NOTE: These changes affect ALL workflows in the entire project.
Your customised workflow will be applied in all related areas in Scompler:

